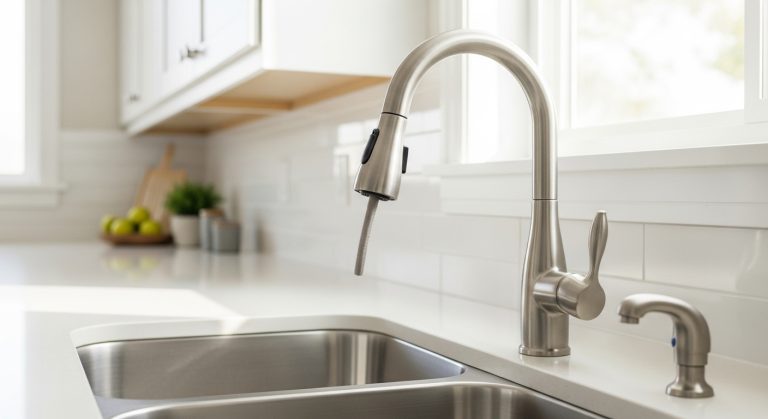
How Do You Change a Kitchen Tap From B&Q Yourself in a Weekend?
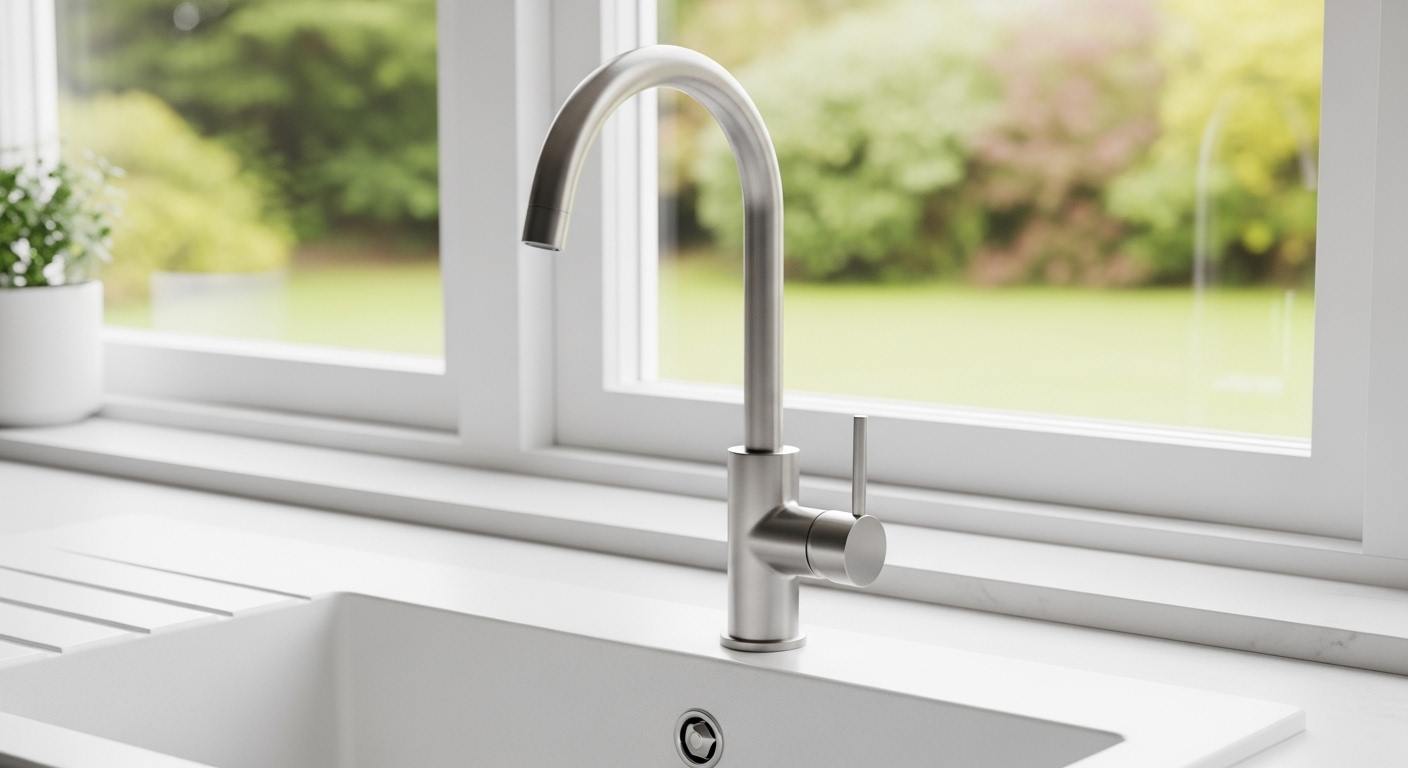
Learning how to change a kitchen tap from B&Q is one of the most satisfying plumbing jobs a complete beginner can pull off in an afternoon — no soldering, no cutting pipe, and usually no need to call a plumber. B&Q sells its own-brand GoodHome taps plus brands like Bristan, Cooke & Lewis, and Grohe, and nearly all of them mount the same way: a single tail (or two tails on older kitchen mixers) that drops through a hole in the sink and clamps from underneath. In this guide we’ll walk through the whole swap step by step, cover the tools and fittings you actually need, and flag the two or three things that trip most people up.
Can a beginner really change a kitchen tap without a plumber?
Yes — for a standard like-for-like swap, a confident beginner can absolutely change a kitchen tap without a plumber. The job is mechanical, not skilled: you’re loosening nuts, not modifying pipework. The only genuine risk is water, and you control that with the isolation valves. If your existing setup already has those little valves on the supply pipes (the ones with a slotted screw you turn with a flat screwdriver), you never have to touch the mains stopcock at all.
The two scenarios where you might want a pro: your copper pipes have no isolation valves and are soldered, or you’re going from two separate hot/cold pipes to a single mixer and the geometry doesn’t line up. Even then, fitting a pair of self-cutting or push-fit isolation valves is a beginner-friendly upgrade. For the classic case — old mixer out, new B&Q mixer in — you’ve got this.
What tools and parts do I need to change a B&Q kitchen tap?
You need surprisingly little: a basin wrench (also called a tap spanner), an adjustable spanner, a flat-head screwdriver for the isolation valves, PTFE tape, and a bowl plus an old towel for the inevitable trickle of water. That’s the core kit, and B&Q stocks all of it in the plumbing aisle for well under £30 total.
Here’s the full checklist so you’re not stopping mid-job to run back to the shop:
- Basin/tap wrench — the long-reach tool that lets you get at the backnut in the cramped space behind the sink. This is the single tool that makes or breaks the job.
- Adjustable spanner (or a set of open-ended spanners) for the flexible hose connections.
- Flat-head screwdriver to turn the isolation valves off and on.
- PTFE tape (plumber’s thread-seal tape) — wrap the threads to stop weeping joints.
- New flexible tap connectors / supply hoses — reuse the old ones only if they’re clean and undamaged; new braided hoses cost a few pounds and are cheap insurance.
- Bowl, old towels, torch or head-torch — under-sink cupboards are dark and wet is inevitable.
- Silicone sealant (optional) if your new tap doesn’t come with a rubber base gasket.
Check what’s in the box when your tap arrives. Most B&Q GoodHome and Cooke & Lewis mixers include the fixing kit — the top and bottom washers, the fixing plate, and the backnut. Some also include pre-attached flexi tails, which saves you a connection.
How do you turn off the water before changing a kitchen tap?
Turn the water off at the two isolation valves on the pipes feeding your tap — a quarter turn so the screw slot sits across (perpendicular to) the pipe means closed. These sit directly under the sink where the flexible hoses meet the copper pipes. Turn both to off, then open the old tap fully to release the pressure and confirm the flow stops. A last dribble is normal; a steady stream means the valve isn’t fully closed or you’ve got the wrong pipe.
If you have no isolation valves, close your main internal stopcock (usually under the kitchen sink or where the mains enters the house), then open the tap and also open the lowest tap in the house to drain the standing water in the pipes. This is the moment to add isolation valves for next time — future-you will be grateful.
One more habit worth building: put the plug in the sink before you start. It stops a dropped nut or washer vanishing down the drain, which is a genuinely infuriating way to lose 20 minutes.
How do you change a kitchen tap from B&Q step by step?
Changing a B&Q kitchen tap comes down to five moves: isolate the water, disconnect the hoses, release the backnut, fit the new tap, and reconnect. Here’s the full sequence.
- Isolate and drain. Close both isolation valves, open the old tap to relieve pressure, and place your bowl and towel underneath to catch residual water.
- Disconnect the flexible hoses. Using the adjustable spanner, undo the nuts connecting the flexi tails to the isolation valves. Have the bowl ready — around a cupful of water usually escapes.
- Release the backnut. Reach up behind the sink with the basin wrench and loosen the backnut (and fixing plate) that clamps the tap to the sink. Decades-old nuts can be stiff — a squirt of penetrating oil and a few minutes’ patience beats brute force.
- Lift the old tap out. Once the backnut is off, the old tap lifts straight up and out of the sink hole. Wipe away any old sealant, limescale, or grime around the hole so the new tap seats flat.
- Fit the new B&Q tap. Feed the new flexi tails (and any threaded stud) down through the sink hole, sitting the rubber base gasket between the tap and the sink surface. From underneath, slide on the fixing plate and washer, then hand-tighten the backnut before snugging it with the basin wrench. Don’t over-crank it — firm is enough; too tight can crack a ceramic or thin stainless sink.
- Connect the supply hoses. Wrap PTFE tape clockwise around the isolation-valve threads (three or four turns), then attach the flexi hoses — hot to hot, cold to cold, and don’t cross them. Tighten by hand, then a further half-turn with the spanner. Braided hoses have a rubber seal inside, so they don’t need much force.
- Restore water and test. Open both isolation valves, then slowly open the new tap. Let it run for a minute to clear air and debris, and check every joint — top and bottom — for drips. Tighten a fraction more only if you see moisture.
That’s the whole job. If you want a more general walkthrough that isn’t B&Q-specific, our guide on how to install a kitchen faucet step by step covers the same fundamentals with extra photos, and if your new tap has a pull-out spray head, the technique in installing a kitchen faucet with a sprayer transfers directly to the hose-weight and quick-connect fittings.
Which type of B&Q kitchen tap should I choose for my sink?
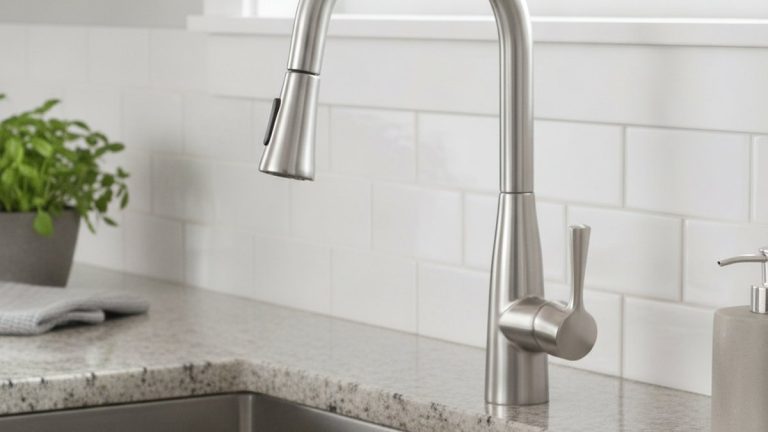
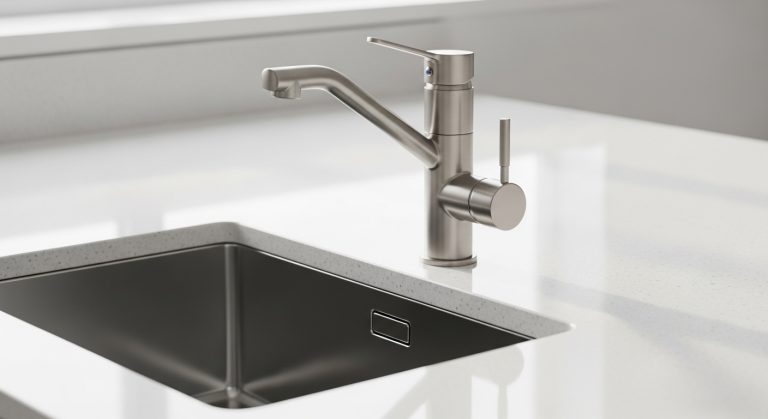
Choose the tap that matches your sink’s number of holes and your water pressure — a single-lever mixer for one hole and decent pressure, a dual-lever (two-handle) mixer for a traditional look, and a boiling-water or filter tap only if you’re happy to run a separate under-sink unit. Below is a quick comparison of the main styles B&Q sells so you can match the tap to your situation and budget.
| Tap type | Best for | Rough B&Q price | Beginner install difficulty |
|---|---|---|---|
| Single-lever mixer | Most modern kitchens; one-handed control of flow and temperature | £30–£120 | Easy — one tail, one backnut |
| Dual-lever mixer | Traditional / period kitchens; separate hot and cold handles | £40–£150 | Easy–moderate — two supply connections |
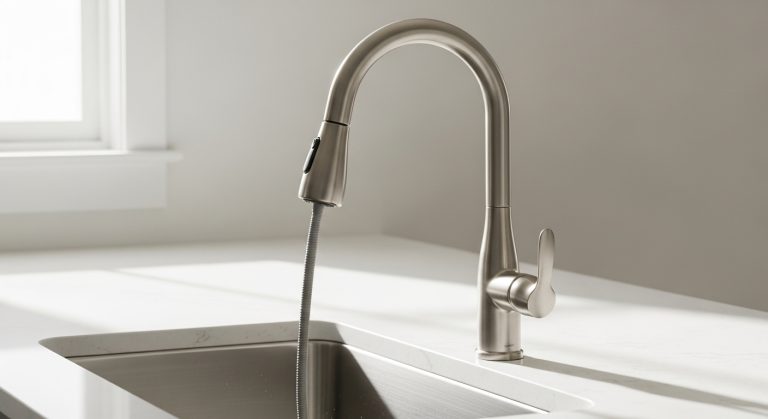
| Pull-out / pull-down spray | Big Belfast or bowl-and-a-half sinks; rinsing and filling pots | £60–£200 | Moderate — extra spray hose and weight to route |
| Boiling-water / 3-in-1 tap | Instant hot water; households that skip the kettle | £150–£450+ | Harder — needs a tank, filter, and a power socket under the sink |
Two specs matter most before you buy. First, your water pressure: gravity-fed systems (a cold-water tank in the loft) run at low pressure, and a tap rated for high-pressure mains only can leave you with a feeble trickle. B&Q lists a minimum bar rating on most taps — check it. Second, your sink hole size and count: a standard tap hole is about 35mm, and swapping a two-hole tap for a single-hole mixer may leave a spare hole you’ll need a blanking plate or soap dispenser to fill. If finish is part of your decision, our take on whether brushed nickel faucets are worth it weighs durability against fingerprints and cleaning.
Why is my new B&Q tap dripping or the handle loose after fitting?
A drip after fitting almost always comes from an under-tightened flexi-hose connection or missing PTFE tape — not a faulty tap. Turn the water off again, undo the weeping joint, add two or three more turns of PTFE tape, and reconnect. If the drip is from the spout itself rather than a joint, air trapped in the line usually clears after a minute of running; if it persists, the cartridge may have been knocked out of seat during install.
A loose or wobbly tap body means the backnut underneath needs another snug turn with the basin wrench — the tap should not rotate in the hole. If the lever feels loose rather than the whole tap, that’s a different fix; our guide on a loose kitchen faucet lever handle shows how to find and tighten the grub screw. And if you’re dealing with a persistent spout drip on an older tap you decided to keep, fixing a dripping faucet at home walks through cartridge and washer replacement.
How long does it take, and what does it cost to change a kitchen tap?
Budget 45 to 90 minutes for a first-timer doing a straightforward swap, and £40 to £150 for a mid-range B&Q mixer plus a few pounds for hoses and PTFE tape. Compare that with £80 to £150 a plumber typically charges in labour alone for the same job, and DIY pays for a decent tap outright.
Where the timing blows out is stuck backnuts on old installations, corroded isolation valves that won’t fully close, or discovering mid-job that your pipes have no isolation valves at all. If you hit any of those, it’s not a failure — it’s just a slightly bigger shopping list. Factor an extra £10 to £20 for a pair of push-fit isolation valves and another half hour.
While you’ve got everything apart and dry, it’s the perfect moment to descale the sink and old fittings. A little limescale build-up on the tap base is normal in hard-water areas; our method for cleaning hard water stains from a faucet keeps your shiny new tap looking new for longer.
FAQ
Do I need a plumber to change a kitchen tap from B&Q?
No, not for a standard like-for-like swap. If your pipes already have isolation valves, changing a kitchen tap is a beginner-friendly job needing only a basin wrench, an adjustable spanner, and PTFE tape. Call a plumber only if your pipework is soldered with no shut-off valves or the new tap doesn’t match your existing pipe layout.
What size is a standard kitchen tap hole in the UK?
A standard UK kitchen tap hole is 35mm in diameter, which fits the vast majority of B&Q single-lever and dual-lever mixers. Always check the tap’s spec sheet before buying — some designer and boiling-water taps need a larger cut-out, and swapping a twin-hole tap for a single mixer leaves a spare hole you’ll need to blank off or fill with a soap dispenser.
Can I reuse my old flexible tap connectors?
You can reuse braided flexible connectors if they’re clean, crack-free, and the rubber seals inside are intact, but new ones cost only a few pounds and remove any risk of a hidden weak point failing later. Given a burst hose can flood a cupboard, most people fit fresh braided hoses whenever they change a tap.
Which way do the isolation valves turn to shut the water off?
The valve is closed when the screw slot sits across the pipe (perpendicular to it) and open when the slot runs in line with the pipe. Turn the flat-head screw a quarter turn so it lies across the pipe, then open the old tap to confirm the flow has stopped before you disconnect anything.
Do I need PTFE tape on flexible hose connections?
Braided flexible hoses have a rubber washer inside the nut that does the main sealing, so PTFE tape isn’t strictly required on those. However, wrapping three to four clockwise turns of PTFE tape on the isolation-valve and tap-tail threads is cheap insurance against a slow weep, and it’s standard practice among plumbers.
My new tap has low pressure after fitting — what went wrong?
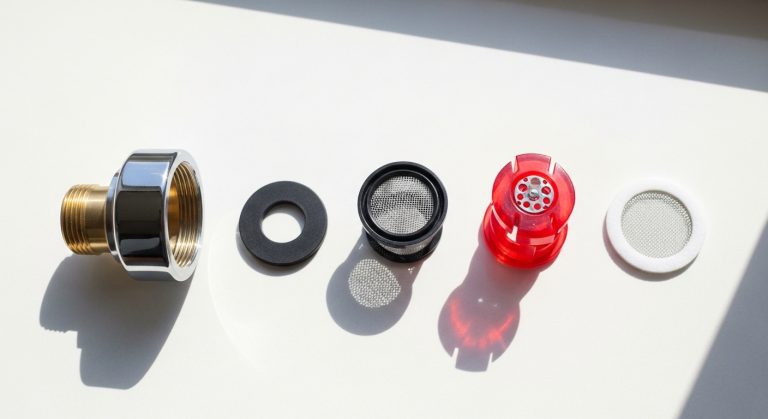
Weak flow usually means either the isolation valve isn’t fully open, debris has lodged in the aerator, or the tap is rated for higher pressure than your gravity-fed system provides. Fully open both valves, unscrew and rinse the aerator at the spout tip, and check the tap’s minimum bar rating against your system. Low-pressure homes need a tap specifically rated for gravity-fed supply.
About the author: This guide was written by the Aniflux Home fixtures team — plumbing-fitting specialists who install, pressure-test, and review kitchen and bathroom taps year-round. We’ve fitted taps on everything from Belfast sinks to slimline stainless bowls, and the steps above reflect the same process our own fitters follow on the job.
About Aniflux Home: Aniflux Home (anifluxhome.com) designs and supplies kitchen and bathroom fixtures built to last. Every tap we sell is pressure-tested before dispatch, meets WRAS and relevant UK water-supply standards, and ships with a manufacturer warranty of up to 5 years — so whether you buy from us or fit a tap from another retailer, you’re getting advice from people who stand behind their fixtures.