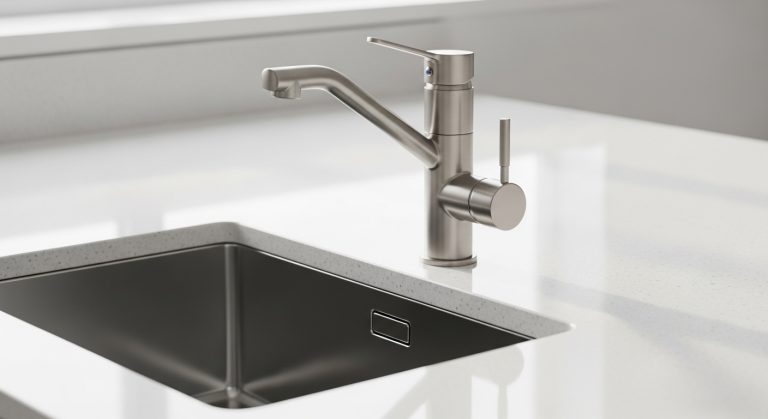
How Do You Install a Tuscany Kitchen Faucet Yourself, Step by Step?
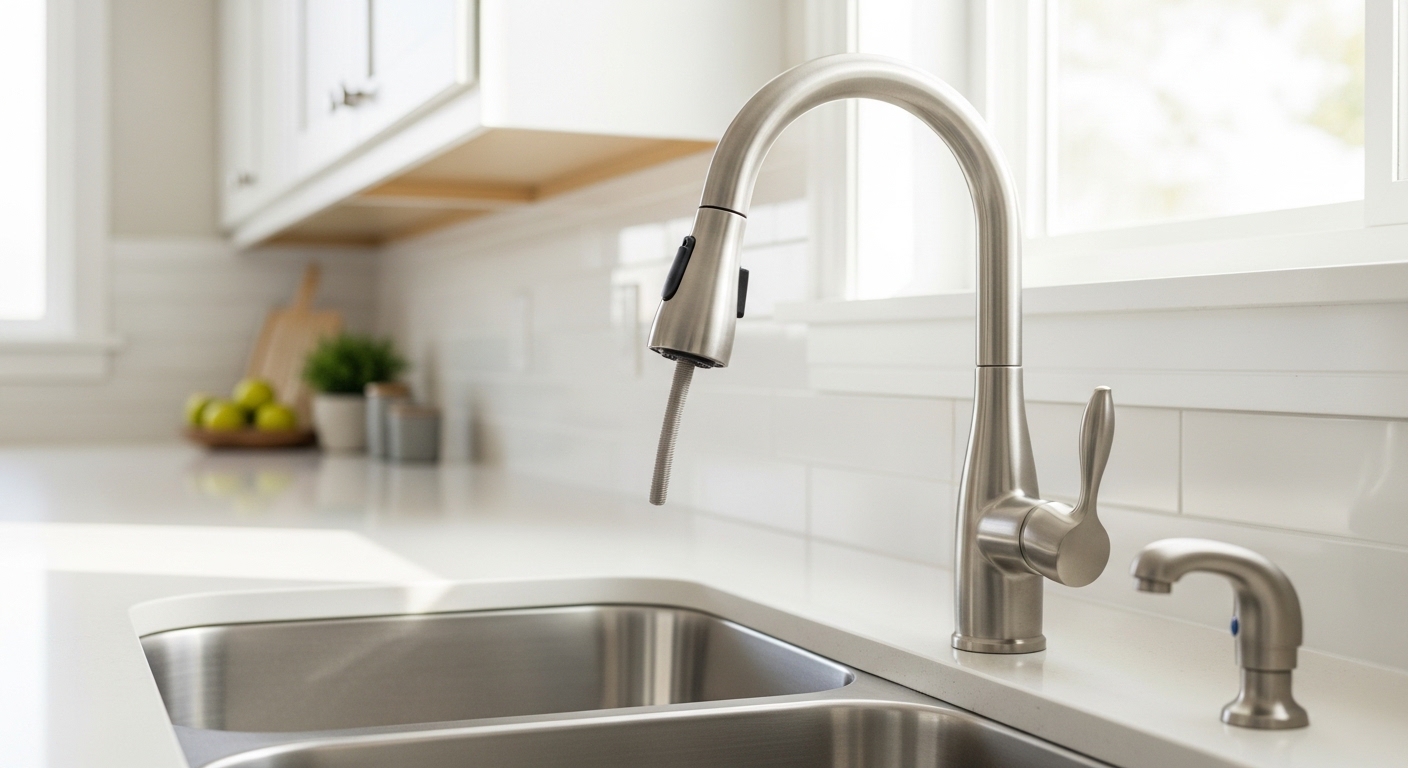
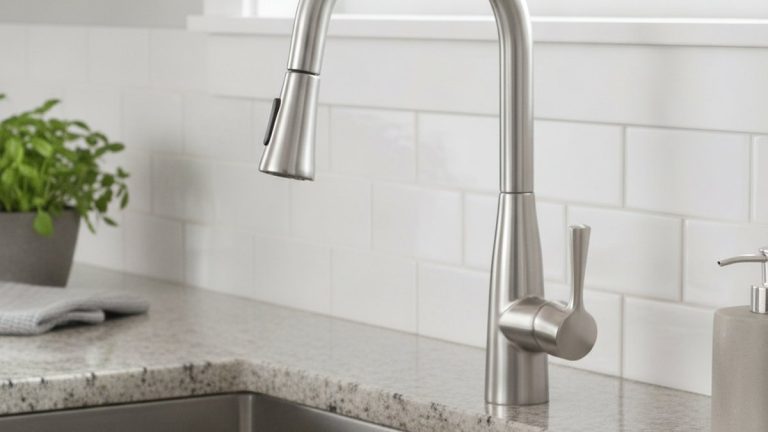
If you’ve been searching for exactly how to install a Tuscany kitchen faucet, the good news is that it’s one of the more DIY-friendly jobs in the kitchen — no soldering, no special plumbing license, and usually no trip to the hardware store mid-project if you prep first. Tuscany faucets (the house brand sold through Menards) ship with a fairly standard single-hole or 3-hole mounting system, a pre-attached or clip-on pull-down hose, and a mounting kit in the box. Below, I’ll walk you through the whole thing the way I’d explain it to a friend standing at the sink with me: what tools you actually need, the exact order of steps, the two or three spots where people get stuck, and how to test it so you don’t discover a leak at 2 a.m.
What tools and parts do I need before I start installing a Tuscany kitchen faucet?
You need an adjustable wrench, a basin wrench, plumber’s tape (PTFE/Teflon tape), a flashlight, a bucket or towel, and the mounting hardware that came in the Tuscany box. That’s genuinely it for 90% of installs. The basin wrench is the one tool people skip and regret — the mounting nut sits up behind the sink basin where a normal wrench simply won’t reach.
Before you touch anything, lay the parts out and confirm the box is complete. A typical Tuscany kitchen faucet kit includes:
- The faucet body with pre-installed supply lines (usually 3/8″ compression connectors) and, on pull-down models, the spray hose.
- A mounting nut or quick-connect bracket plus a metal or plastic washer/gasket.
- A rubber deck gasket or base plate (escutcheon) if it’s designed to cover a 3-hole sink.
- The pull-down spray head and a hose weight (the little counterweight that pulls the hose back down after use).
- An instruction sheet — keep it, because the exact mounting nut style varies by model year.
Take five minutes to read the specific model’s sheet against this guide. Tuscany has run several designs, and while the sequence below fits nearly all of them, the mounting hardware is the part most likely to differ (older ones use a threaded nut you tighten with a basin wrench; newer ones often use a tool-free plastic mounting nut you hand-tighten). If you’re weighing whether a pull-down is even right for you before you commit, our overview of the best high arc pull down kitchen faucet options breaks down clearance and reach.
How do I remove the old faucet before installing the Tuscany one?
Turn off both shutoff valves under the sink, open the old faucet to release pressure, then disconnect the supply lines and the mounting nut holding the old faucet down. Removing the old faucet is honestly the hardest and grimiest part of the whole job — the new install is usually the easy half.
Here’s the order that saves you a soaked cabinet:
- Shut off the water. Reach under the sink and turn both the hot and cold shutoff valves clockwise until they stop. If you don’t have under-sink valves (some older homes don’t), shut off the main water supply to the house.
- Open the old faucet and let the remaining water drain out. This relieves pressure so you don’t get sprayed.
- Put a bucket and towel under the connections. There’s always a little trapped water.
- Disconnect the supply lines from the shutoff valves with your adjustable wrench. If they’re original braided lines, plan to replace them — more on that below.
- Undo the old mounting nut(s) with the basin wrench and lift the old faucet out from the top.
- Clean the sink deck. Scrape off old plumber’s putty or gasket residue and wipe the area dry so the new gasket seats flat. This is also the perfect moment to attack any mineral buildup around the holes — here’s how to clean hard water stains from a faucet so your new faucet sits on a clean, sealed surface.
If the old shutoff valves are corroded, drip, or won’t fully close, deal with that now — before the new faucet is in the way. It’s far easier to swap a bad valve with an empty sink deck.
How do I actually mount and connect the Tuscany faucet? (the main steps)
Feed the faucet’s supply lines and mounting shank down through the sink hole, secure it underneath with the mounting nut, then connect the supply lines to your shutoff valves. That’s the core of the install, and once the old faucet is out, this part typically takes 20–30 minutes.
Step by step:
- Set the deck gasket or base plate. If your sink has three holes and you’re using a base plate, position it over the holes first. For a single-hole install, the rubber gasket usually sits on the underside of the faucet base. Some installers add a thin bead of plumber’s putty or silicone under the base plate for extra sealing — Tuscany’s included gasket is usually enough, but a little silicone is cheap insurance on an uneven deck.
- Feed the lines through the hole. Guide the pre-attached supply lines and the mounting shank down through the center hole. Go slowly so you don’t kink the pull-down hose or pinch a supply line.
- Center the faucet so it points straight forward, then hold it in position from above.
- Secure it from below. Thread on the mounting nut and washer. If it’s a hand-tightened plastic nut, snug it firmly by hand and give it a small extra turn. If it’s a threaded metal nut, use the basin wrench. Don’t overtighten — you want it solid, not cracked.
- Connect the supply lines. Attach the hot line to the hot valve (left) and cold to the cold valve (right). Wrap the valve threads with 2–3 turns of plumber’s tape first if you’re using tapered/threaded connections, then hand-tighten and give a final quarter-turn with the wrench. Compression fittings on braided lines usually don’t need tape — snug them until firm.
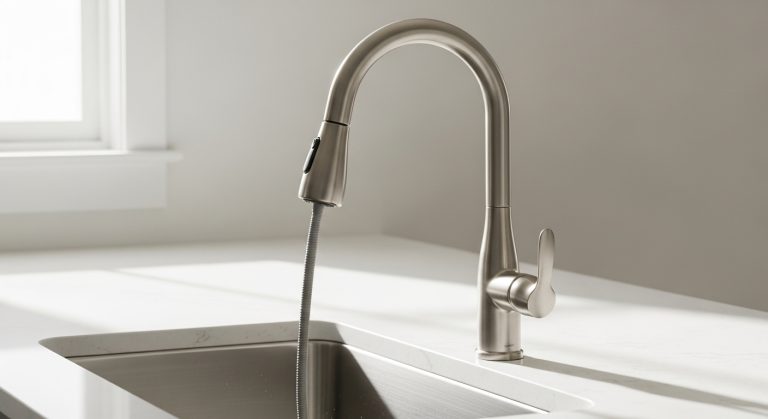
- Attach the pull-down spray hose. On most Tuscany pull-down models, you connect the spray head to the hose (listen for the click on quick-connect versions), then clip the counterweight onto the hose at the marked position so the sprayer retracts smoothly.
The mechanics here are nearly identical across single-handle pull-down faucets, so if you want a second angle on the same process, our general step-by-step kitchen faucet install guide and our Moen faucet-with-sprayer walkthrough both show the hose-and-counterweight step in more detail — the counterweight trips up more people than any other part.
Tuscany install: single-hole vs. 3-hole sink — what’s the difference?
The difference is whether you need the included base plate (escutcheon). A single-hole sink uses just the faucet; a 3-hole sink needs the base plate to cover the two extra holes — or you can fill them with a soap dispenser or air-gap accessory instead. Both installs use the exact same mounting and connection steps; only the deck coverage changes.
| Situation | What you use | Extra steps | Typical time |
|---|---|---|---|
| Single-hole sink | Faucet + deck gasket only | None — cleanest install | 45–60 min |
| 3-hole sink, cover both extras | Faucet + included base plate | Position base plate over all 3 holes before mounting | 50–70 min |
| 3-hole sink, keep a side accessory | Faucet + base plate cut-out or open | Install soap dispenser/air gap in the spare hole | 60–90 min |
| Replacing a widespread setup | Base plate to bridge 8″ spread | Confirm base plate spans your hole spacing | 60–90 min |
Measure your hole spacing before you assume. Most Tuscany kitchen faucets with a base plate are designed for standard 4-hole or 8-inch configurations, but if you’re coming from an older widespread layout it’s worth confirming the plate spans the gap. If your sink is set up for separated handles, our explainer on centerset vs. widespread faucets clarifies which mounting style you actually have.
Why is my new Tuscany faucet leaking or the handle loose?
A leak at the base almost always means the deck gasket isn’t seated flat or the mounting nut is loose; a leak underneath means a supply-line connection needs another quarter-turn or fresh plumber’s tape. A loose handle is usually just a set screw that needs tightening — not a defect.
Run through these in order before you assume something’s broken:
- Drip at a supply connection: Tighten a quarter-turn. Still weeping? Disconnect, re-wrap the threads with plumber’s tape, and reconnect. Don’t crank it — over-tightening cracks fittings and distorts washers, which causes more leaks.
- Water pooling around the faucet base on the deck: The gasket shifted or the mounting nut backed off. Re-center the faucet and re-tighten the mounting nut from below.
- Leak at the very base of the spout / around the swivel: That’s often an O-ring seated wrong during shipping. Our guide to a tap O-ring replacement covers exactly how to reseat or swap it.
- Loose handle: Find the set screw (usually under the handle or behind a small cap), and snug it with the hex/Allen key. Full walkthrough here: why a kitchen faucet lever handle gets loose and how to tighten it.
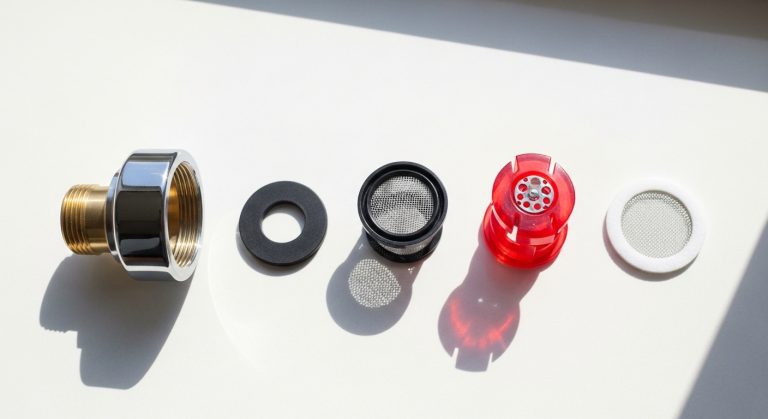
- Weak or sputtering flow after install: Debris knocked loose during the swap can clog the aerator. Unscrew the aerator, rinse it, and reassemble — see how to put a kitchen faucet aerator back together.
How do I test the Tuscany faucet after installing it?
Turn the water back on slowly, run both hot and cold, and check every connection with a dry hand or paper towel while the water runs. Then run the pull-down sprayer, extend and retract it a few times, and check the connections again under pressure. Testing under real pressure is the only way to catch a slow weep before it becomes cabinet damage.
Do it in this order:
- Remove the aerator or spray head first (or set the sprayer to stream), open the faucet, and slowly reopen both shutoff valves. Let it run 15–20 seconds to flush out debris and air.
- Reinstall the aerator once the water runs clear.
- Run hot, then cold, then both. Confirm hot is on the correct side.
- Wipe every connection — the two supply valves, the mounting area, and the hose connection — with a dry paper towel. Any dampness that returns means a connection needs attention.
- Cycle the pull-down hose 5–6 times. Confirm the counterweight retracts it fully and there’s no leak where the hose meets the spray head.
- Check again after 10 minutes and again the next morning. Slow leaks reveal themselves over time, not instantly.
If you hit a snag mid-install and something’s dripping you can’t source, our general guide to fixing a dripping faucet at home covers the usual suspects.
Should I replace the supply lines while I’m at it?
Yes — if your existing supply lines are more than 5–7 years old, braided lines with visible corrosion, or the old rigid copper risers, replace them while the sink is open. New braided stainless supply lines cost only a few dollars each and are the single cheapest insurance against a future flood.
Tuscany faucets typically come with the supply lines already attached to the faucet body, which connect to your under-sink shutoff valves. If your shutoff valves use a different connection size than the new lines, grab an adapter before you start — measuring the valve’s outlet (commonly 3/8″ compression) takes ten seconds and saves a second trip. And if a shutoff valve itself is old and won’t fully close, replacing it now (with the water off at the main) is far easier than doing it later around a fully installed faucet.
Author note & why you can trust this guide
About the author: This guide was written by the Aniflux Home fixtures team — folks who install, test, and troubleshoot kitchen and bathroom faucets every week, and who field real customer questions about pull-down installs, leaks, and mounting quirks. We’ve walked through this exact Tuscany-style single-handle install more times than we can count.
About Aniflux Home: Aniflux Home (anifluxhome.com) is a specialty retailer of kitchen and bathroom faucets, shower heads, tub fixtures, and sink accessories. We focus on one thing — fixtures — so our buying and how-to guidance comes from hands-on product knowledge, not generic home-improvement filler.
On standards and warranty: Whatever brand of faucet you install, look for fixtures that meet U.S. plumbing standards — a ceramic-disc cartridge rated for durability, lead-free waterways compliant with NSF/ANSI 61 and the federal lead-free law, and flow that meets EPA WaterSense expectations (around 1.5–1.8 GPM for kitchen faucets). Always register your faucet to activate the manufacturer’s warranty, and keep your receipt and the model number — most kitchen faucet warranties cover finish and function for years, but only if you can identify the exact model when you file a claim.
FAQ
Do I need a plumber to install a Tuscany kitchen faucet?
No, most people install a Tuscany kitchen faucet themselves in under 90 minutes with an adjustable wrench, a basin wrench, and plumber’s tape. There’s no soldering or special skill required. Call a plumber only if your under-sink shutoff valves are corroded and leaking, or if you have no shutoff valves and aren’t comfortable working from the main.
How long does it take to install a Tuscany kitchen faucet?
Plan on 45–90 minutes. A clean single-hole swap can be done in about 45 minutes; a 3-hole sink with a base plate, old corroded connections, or supply-line replacement pushes it toward 90 minutes. Most of that time is removing the old faucet, not installing the new one.
What size are the Tuscany faucet supply line connections?
Tuscany kitchen faucets typically come with supply lines that connect to standard 3/8″ compression shutoff valves, which is the most common size in U.S. homes. Measure your valve outlet before you start; if it’s a 1/2″ connection, pick up an inexpensive adapter so you don’t have to stop mid-install.
Why won’t my Tuscany pull-down sprayer retract after I install it?
The counterweight is either positioned wrong on the hose or not clipped on at all. Locate the weight, clip it onto the hose at the spot marked in the instructions (usually near the middle of the hose’s travel), and make sure nothing under the sink blocks the hose from moving freely. That fixes a sprayer that won’t dock nine times out of ten.
Can I install a Tuscany faucet on a 3-hole sink?
Yes. Tuscany kitchen faucets that ship with a base plate (escutcheon) are made for exactly this — the plate covers the two extra holes and you mount the faucet through the center. Alternatively, keep one side hole open for a matching soap dispenser or air-gap accessory. The mounting steps are otherwise identical to a single-hole install.
Do I need plumber’s putty or silicone under the faucet base?
Usually not — the rubber deck gasket included with the Tuscany faucet seals the base on a flat, clean sink deck. If your deck is uneven or pitted, a thin bead of clear silicone (or plumber’s putty on the base plate) adds a reliable extra seal. Avoid putty on natural stone or certain composite surfaces, since it can stain; use silicone there instead.