
How Do You Replace a Kitchen Faucet Gasket That’s Leaking Under the Sink?
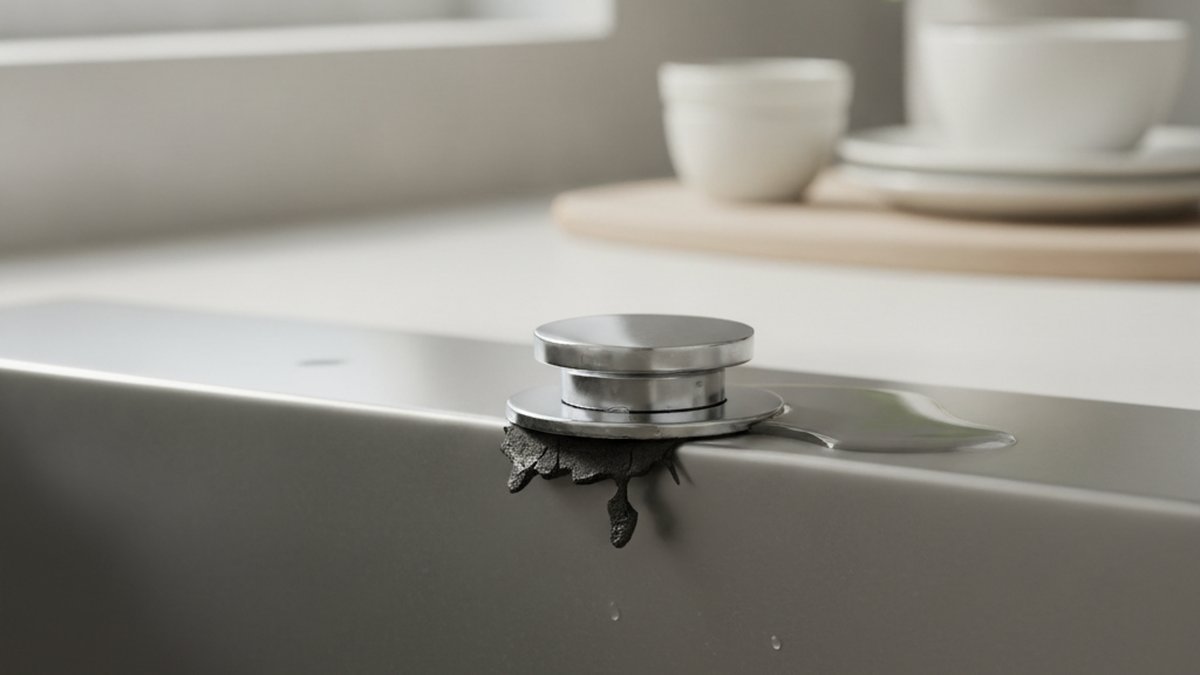
If water is pooling around the base of your faucet or dripping onto the cabinet floor below, learning how to replace kitchen faucet gasket hardware is usually the fix — and it’s one of the cheapest, most beginner-friendly repairs in the whole kitchen. The gasket is the flat rubber or silicone seal that sits between the faucet body and the sink deck. Over years of vibration, heat, and cleaning chemicals, it hardens, cracks, or shifts, and water starts to sneak past it. Below, I’ll walk you through exactly how to swap it, how to tell the base gasket apart from an O-ring, which tools you actually need, and when a “gasket problem” is really something else.
What exactly is a kitchen faucet gasket, and how is it different from an O-ring?
A kitchen faucet gasket is the flat sealing ring — usually black rubber, red silicone, or dense foam — that sits under the faucet body where it meets the top of the sink. Its only job is to keep water from the deck (splashes, spray-back, spills) from running down through the mounting holes into your cabinet. An O-ring, by contrast, is a small round-profile ring that seals a moving or threaded joint inside the faucet — like where the spout swivels or where the cartridge seats.
The distinction matters because it tells you where the leak is coming from and which part to buy:
- Base gasket / deck seal: A flat ring under the faucet. Fix this when water appears on top of or around the faucet base and drips below through the mounting hole.
- Spout O-ring: A round ring where the spout meets the body. If your faucet leaks at the base only when the water is running, the culprit is often this O-ring rather than the deck gasket — see our guide on how to do an O-ring replacement for a Moen kitchen faucet for that specific fix.
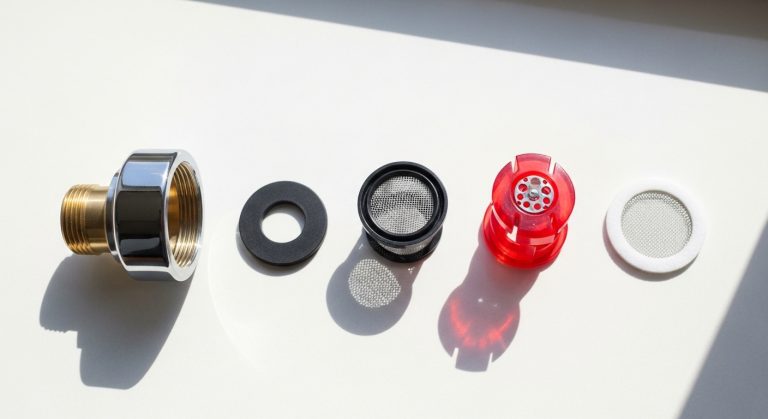
- Supply-line washer/gasket: A small rubber washer inside the supply hose coupling. If the leak is strictly under the sink at a hose connection, that washer — not the deck gasket — is the problem.
Diagnosing correctly first saves you from pulling the whole faucet when a 20-cent washer would have done it. If your leak only shows up around the base during use, read our walkthrough on tap O-ring replacement when your faucet leaks at the base before you disassemble anything.
How do I know if it’s the gasket that’s leaking and not something else?
You know it’s the base gasket when the leak appears around the faucet’s footprint on the sink deck and there’s moisture tracking down into the cabinet directly beneath the mounting hole — even when no water is running. That “even when off” clue is the giveaway that a deck seal has failed, because deck water intrusion comes from splashes, not internal pressure.
Run this quick 3-step test before you buy any parts:
- Dry everything. Wipe the base of the faucet and the cabinet floor completely dry with a paper towel.
- Splash the deck. Pour a small cup of water around the base of the faucet (don’t run the tap). Check under the sink after two minutes. If it’s wet below, your deck gasket is leaking.
- Run the faucet. Now turn the water on and move the spout side to side. If the base only leaks now, suspect the spout O-ring or cartridge, not the gasket.
One more common mix-up: a wobbly faucet. If your faucet rocks or the handle feels loose, the mounting nut has backed off — which also breaks the gasket’s seal. That’s worth ruling out first, and our guide on why a kitchen faucet lever handle is loose and how to tighten it covers that fast fix. Sometimes snugging the mount restores the seal and you don’t need a new gasket at all.
What tools and parts do I need to replace a kitchen faucet gasket?
You need a basin wrench, an adjustable wrench, a bucket, a flashlight, and the correct replacement gasket for your faucet model. Total spend on parts is typically $5–$15, and every tool here is a standard homeowner item you can buy once and keep forever.
Here’s the full kit, and why each item earns its place:
| Tool / Part | What it’s for | Typical cost |
|---|---|---|
| Basin wrench | Reaching the mounting nut in the tight space behind the sink bowl | $12–$20 |
| Adjustable wrench | Loosening supply-line couplings | $8–$15 |
| Replacement gasket | The new deck seal (buy OEM for your brand/model when possible) | $5–$15 |
| Plumber’s putty or 100% silicone | Backup deck seal on faucets that call for it | $4–$8 |
| Bucket + towels | Catching residual water in the supply lines | On hand |
| Flashlight / headlamp | Seeing under the sink | On hand |
On buying the right gasket: gaskets are shaped to a specific faucet footprint — single-hole, three-hole, and widespread bodies all use different seals. The safest move is to order the OEM part by your faucet’s model number (usually stamped under the spout or printed on the original box). A universal gasket can work for generic single-hole faucets, but a mismatched thickness or diameter will just leak again. If you’re replacing a very old or discontinued faucet and can’t source the part, it may be more sensible to install a new faucet entirely — our step-by-step kitchen faucet installation guide covers that path.
How do you replace a kitchen faucet gasket step by step?
You replace a kitchen faucet gasket by shutting off the water, disconnecting the supply lines, removing the mounting nut, lifting the faucet, swapping the gasket, and reassembling in reverse. Here’s the full sequence, in order, with the details that trip people up.
- Shut off the water. Turn both angle-stop valves under the sink clockwise until they stop. Then open the faucet to release pressure and confirm the water is truly off. No valves under your sink? Shut off the home’s main.
- Disconnect the supply lines. Place your bucket underneath, then use the adjustable wrench to loosen the coupling nuts connecting the supply hoses to the faucet’s tailpieces. A little water will drain — that’s normal.
- Remove the mounting nut(s). Reach up behind the bowl with your basin wrench and turn the mounting nut counterclockwise. This is the hardest part physically — the nut may be corroded. A shot of penetrating oil and a few minutes of patience beats brute force.
- Lift the faucet out. With the nut off, gently work the faucet body up and out of the deck. If it’s stuck, it’s the old gasket or putty holding it — rock it lightly.
- Remove the old gasket. Peel the failed gasket off the underside of the faucet base (or off the sink deck). Scrape away any hardened plumber’s putty or silicone residue with a plastic scraper so the new seal sits flat.
- Clean the deck. Wipe the sink deck and faucet base spotless. Any grit or old sealant under the new gasket will create a leak path.
- Install the new gasket. Press the new gasket firmly onto the faucet base so it seats in its groove. If your faucet’s instructions call for plumber’s putty instead of (or in addition to) a gasket, roll a pencil-thick rope of putty and lay it around the base.
- Reseat the faucet. Lower the faucet back through the mounting hole(s), keeping it square to the sink edge.
- Retighten the mounting nut. Hand-tighten first, then snug it with the basin wrench. Firm, not gorilla-tight — over-torquing can crack the gasket you just installed.
- Reconnect supply lines. Thread the coupling nuts back on by hand, then give a quarter-turn with the wrench. Cross-threading here causes its own leaks, so start every nut by hand.
- Turn the water back on and test. Open the valves slowly, run the faucet, and check the base and every connection under the sink with a dry paper towel for 10 minutes.
If you follow those steps and the base stays bone-dry, you’re done. The whole job runs 30–45 minutes for a first-timer, faster once you’ve done it.
Do I need plumber’s putty, silicone, or just the rubber gasket?
It depends on your faucet: modern faucets almost always ship with a molded rubber or foam gasket and need nothing else, while some older or single-hole faucets rely on plumber’s putty or 100% silicone as the deck seal. Follow the manufacturer’s instructions — using putty where a gasket is designed to seal (or vice versa) is a leading cause of repeat leaks.
Here’s the quick rule of thumb:
| Sealing method | Best for | Watch out for |
|---|---|---|
| Molded rubber/foam gasket | Most modern brand-name faucets (Moen, Delta, Kohler) | Must match the exact model footprint |
| Plumber’s putty | Older faucets, metal bases, some single-hole units | Don’t use on plastic bases — it can degrade them; never on natural stone (staining) |
| 100% silicone | Stone/quartz sinks, permanent seals | Messier, harder to remove later |
A safe default: if your faucet came with a gasket, use the gasket. Only reach for putty or silicone when the manufacturer specifies it or when there’s no molded gasket at all. If you’re doing this on a bathroom fixture instead of the kitchen, the same principles apply — and our guide on how to replace a bathroom faucet O-ring when it leaks at the base or spout is a useful companion.
How long does a kitchen faucet gasket last, and how do I make the new one last longer?
A quality kitchen faucet gasket typically lasts 8–15 years, but heat cycling, harsh cleaners, and hard-water mineral buildup can cut that in half. You make the new one last by not over-tightening it, keeping the deck reasonably dry, and avoiding abrasive or bleach-heavy cleaners right at the faucet base.
A few habits that genuinely extend gasket life:
- Don’t over-torque the mounting nut. A compressed, distorted gasket fails early. Snug is enough.
- Wipe standing water off the deck. Constant pooling accelerates rubber breakdown and mineral scaling.
- Skip harsh chemicals at the base. Bleach and abrasive pastes degrade rubber and silicone over time.
- Re-check the mount once a year. A faucet that loosens over time breaks the seal long before the rubber itself wears out.
When should you just replace the whole faucet instead of the gasket?
Replace the whole faucet instead of the gasket when the faucet body is corroded, the parts are discontinued, the cartridge is also failing, or the faucet is more than 12–15 years old. At that point you’re likely to chase one leak after another, and a new faucet costs less in time and frustration than repeated repairs.
Signs it’s time to upgrade rather than reseal:
- You can’t source the correct gasket because the model is discontinued.
- The faucet base or tailpieces are visibly corroded or pitted.
- You’ve already replaced the cartridge and O-rings and it still leaks.
- The finish is flaking and the faucet is well past a decade old.
If you land here, replacing a faucet is genuinely a doable afternoon project. Walk through our general kitchen faucet installation guide and you’ll reuse most of the same steps — shut-off, supply lines, mounting nut — you just learned here.
FAQ
Can I replace a kitchen faucet gasket without removing the whole faucet?
Usually no. The base/deck gasket sits between the faucet body and the sink, so the faucet has to be lifted to reach and swap it. The exception is a spout O-ring, which you can often replace by just pulling the spout — that’s a different, faster job than replacing the deck gasket.
Why does my faucet still leak after I replaced the gasket?
The most common reasons are a mismatched gasket size, debris trapped under the new seal, an under- or over-tightened mounting nut, or that the real leak was actually a spout O-ring or supply-line washer, not the deck gasket. Re-dry everything and run the splash-vs-running-water test to pinpoint the true source.
How much does it cost to replace a kitchen faucet gasket?
If you do it yourself, $5–$15 for the gasket plus one-time tool costs of about $20–$35 if you don’t already own a basin wrench. Hiring a plumber typically runs $100–$200 in labor, which is why this is one of the most worthwhile DIY plumbing fixes.
What kind of gasket does my kitchen faucet use?
It depends on your faucet’s mounting style — single-hole, three-hole/centerset, or widespread — and the exact model. The most reliable approach is to look up the model number (stamped under the spout or on the original packaging) and order the OEM gasket, because footprint and thickness vary between brands.
Is plumber’s putty or silicone better for sealing a faucet base?
For most modern faucets, neither — the molded rubber gasket is the seal. When you do need extra sealant, plumber’s putty is easier to remove and fine for metal bases, while 100% silicone is better for stone or quartz sinks and permanent installs. Never use plumber’s putty on natural stone, since it can stain.
How tight should the faucet mounting nut be after replacing the gasket?
Hand-tight plus a firm quarter- to half-turn with a basin wrench. The gasket should be visibly compressed and the faucet shouldn’t wobble, but stop there — over-tightening distorts or cracks the new gasket and causes the very leak you were trying to fix.
About the author: This guide was written by the Aniflux Home fixtures team, drawing on hands-on installation and repair of kitchen and bathroom faucets across single-hole, centerset, and widespread configurations. We test-fit and reseal faucets on real sink decks — stainless, composite, and stone — to confirm every step here works outside a lab.
Why trust Aniflux Home: Aniflux Home (anifluxhome.com) specializes in faucets, shower heads, and bathroom fixtures. Our product and repair guidance follows manufacturer installation specifications and industry sealing standards, and we always point you to OEM replacement parts covered under your faucet’s warranty rather than generic substitutes that can void it. When a repair isn’t worth it, we’ll tell you to replace instead — because getting it right beats selling you a part.
One Comment