How Do You Do a Glacier Bay Kitchen Faucet O Ring Replacement When It Leaks at the Base?
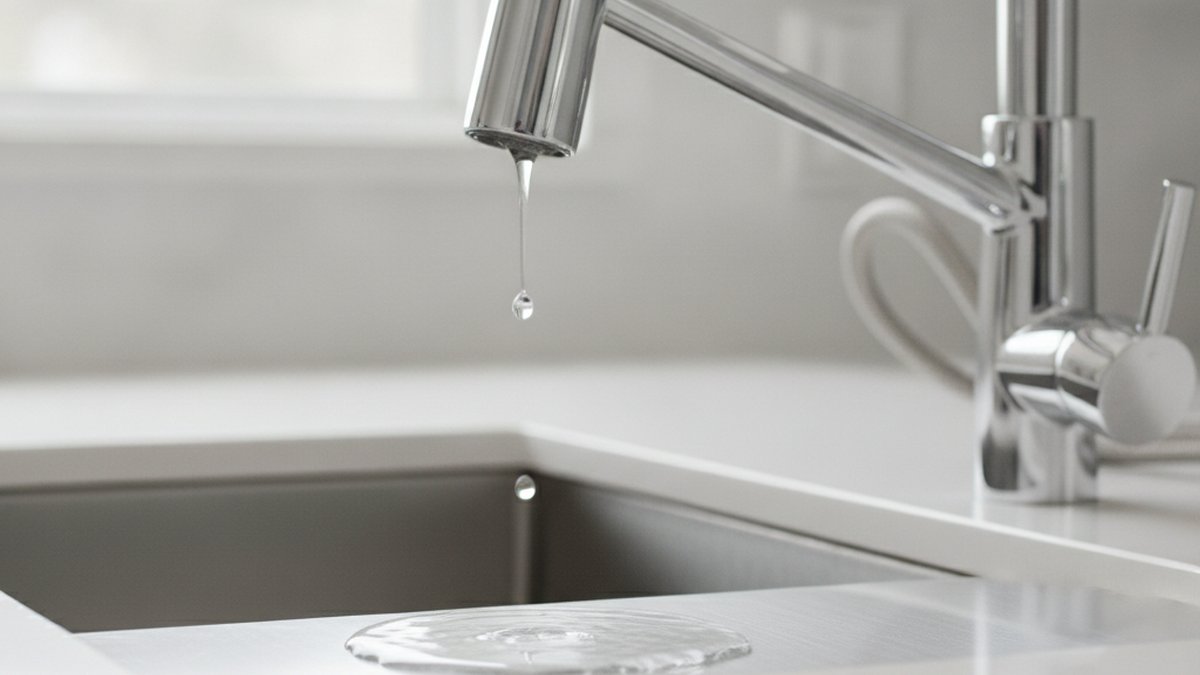
If your Glacier Bay kitchen faucet o ring replacement feels overdue because water is pooling around the base every time you turn on the tap, you’re not alone — this is the single most common Glacier Bay leak, and it’s almost always a $6 set of rubber rings, not a dead faucet. Glacier Bay is Home Depot’s house brand, built to a budget price point, and the swiveling spout on those pull-down and standard models rides on two or three O-rings that dry out and crack after a few years of hot water and hard-water minerals. The good news: you don’t need a plumber, you don’t need to replace the faucet, and you barely need any tools.
Below I’ll walk you through exactly how to diagnose which O-ring failed, how to get the spout off without scratching the finish, what size rings to buy, and how to make the repair last so you’re not back under the sink in six months.
How do I know if it’s actually the O-ring and not something else?
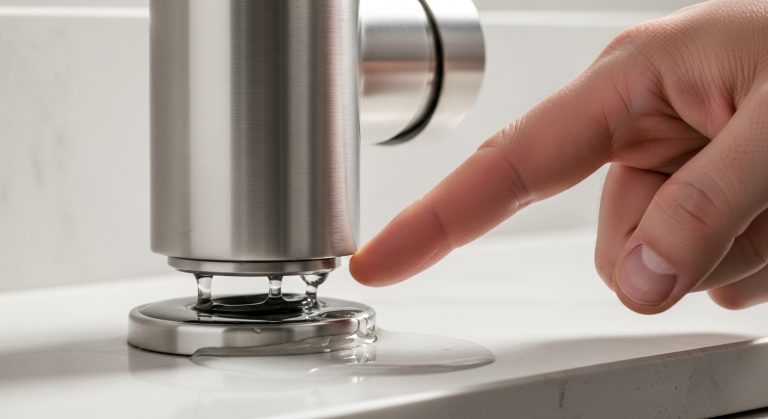
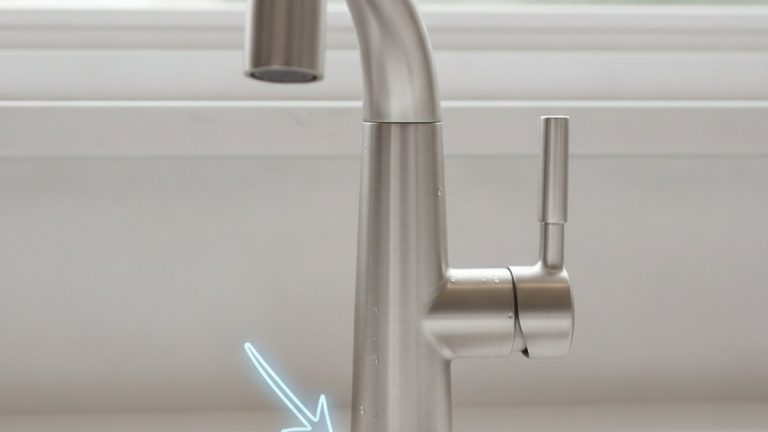
It’s the O-ring if the leak appears around the base of the spout — where the spout swivels — and gets worse when the faucet is running or when you rotate the spout side to side. That’s the tell. A base leak that tracks water down onto the countertop or into the cabinet is a spout O-ring problem 90% of the time on Glacier Bay faucets.
Here’s how to tell the leaks apart before you take anything apart:
| Where you see water | Most likely cause | Fix |
|---|---|---|
| Around the base / when spout swivels | Worn spout O-rings | O-ring replacement (this article) |
| From the handle when water is on | Cartridge or handle O-ring | Replace cartridge + valve O-rings |
| Steady drip from the spout tip when off | Failed cartridge seat/seals | Replace the cartridge |
| Under the sink at the supply lines | Loose supply nut or dead gasket | Tighten or replace the connection |
| Pooling under the deck plate | Failed base/mounting gasket | Reseat or replace the base gasket |
If the water is coming from under the sink instead of up top, that’s a different job — see our guide on how to replace a kitchen faucet gasket that’s leaking under the sink, because chasing an O-ring won’t fix a bad base gasket. And if the leak is really a slow drip from the spout tip when the faucet is fully off, the culprit is usually the cartridge, not the O-rings.
What tools and parts do I need for a Glacier Bay O-ring replacement?
You need almost nothing: an Allen/hex key (usually 7/64″ or 2.5mm), a flathead screwdriver, a replacement O-ring kit, and silicone-based plumber’s grease. Total spend is about $6–$12 if you buy the rings and grease together.
- Hex key (Allen wrench): Glacier Bay handles are usually set-screwed with a small hex bolt hidden under a decorative cap.
- Flathead screwdriver or plastic pry tool: to pop off the handle cap and, gently, to help ease old O-rings off.
- Replacement O-rings: a universal faucet O-ring assortment ($5–$8) or a Glacier Bay-specific kit. Match by measuring the old ring.
- Silicone plumber’s grease: NOT petroleum jelly. Petroleum swells and rots rubber O-rings; food-safe silicone grease keeps them supple.
- A rag and an old toothbrush: to wipe mineral scale off the valve body before the new rings go on.
- Optional: white vinegar: to dissolve hard-water crust on the brass valve stem.
One tip that saves a second trip to the store: pull the old O-ring first and bring it with you, or measure its inside diameter and thickness with calipers. Glacier Bay uses a handful of common sizes, but “close enough” O-rings leak. An assortment kit is cheap insurance because it gives you several sizes in one box.
How do you take apart a Glacier Bay kitchen faucet to reach the O-rings? (step by step)
You disassemble it from the top: shut the water off, remove the handle, lift the spout straight up off the valve body, and the O-rings are right there on the brass barrel. Most Glacier Bay single-handle kitchen faucets come apart in five moves, no under-sink contortion required.
- Shut off the water. Turn both supply valves under the sink clockwise until they stop. Open the faucet to release pressure and confirm the water is truly off. Drop a rag in the sink so you don’t lose small parts down the drain.
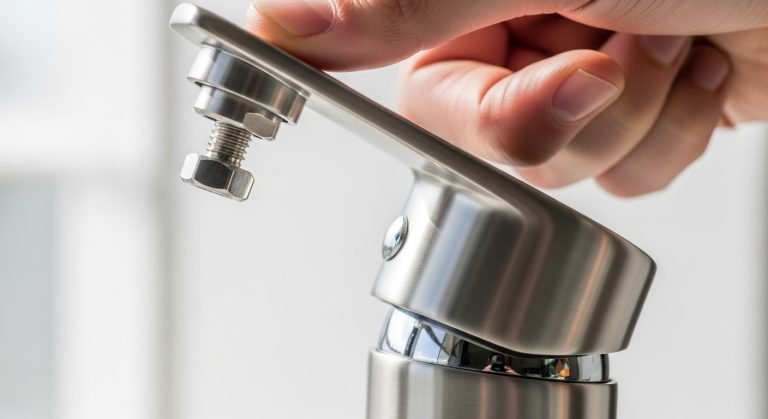
- Remove the handle. Find the small cap on the handle (often a red/blue button or a Glacier Bay logo cap). Pry it off with a flathead to expose the set screw, then loosen the set screw with your hex key. Lift the handle straight up and off.
- Remove the retaining hardware. Under the handle you’ll usually find a dome cap or a threaded collar/nut that holds the cartridge and spout in place. Unthread it by hand or with slip-joint pliers padded with a rag so you don’t mar the finish.
- Lift off the spout. Pull the spout tube straight up off the valve body. It may need a firm wiggle if scale has built up. This exposes the two (sometimes three) O-rings seated in grooves on the brass valve body — those are your leak culprits.
- Inspect. Look for rings that are flattened, cracked, gouged, or coated in white mineral scale. A healthy O-ring is round and springy; a bad one is squared-off and hard.
The process is nearly identical across budget single-handle faucets, so if you’ve ever done an O-ring swap on another brand it’ll feel familiar. For a comparison of how the same repair looks on a different popular brand, our walkthrough on the O-ring replacement for a Moen kitchen faucet that leaks at the base uses the same top-down method and is worth a skim if you want a second visual reference.
How do I get the old O-rings off and the new ones on correctly?
Roll the old rings off with your fingernail or a plastic pick, clean the grooves, then roll the new lubricated rings down onto the valve body — never stretch them over sharp edges more than you have to. Rushing this step is the #1 reason a “fixed” faucet leaks again the next week.
Do it in this order:
- Remove every old ring. There’s typically a larger ring near the top and a smaller one lower down. Note the position and size of each one as you remove it — take a quick phone photo before you pull them.
- Clean the valve body. Wipe the brass barrel and the grooves with a rag. If there’s chalky white scale, wrap a vinegar-soaked paper towel around it for 5 minutes, then scrub gently with the toothbrush. A clean groove is what lets the new ring seal.
- Grease the new rings. Put a thin film of silicone plumber’s grease on each new O-ring and a light smear in the grooves. This lets the ring slide into place without pinching and keeps it from drying out.
- Seat the new rings. Roll each ring down into its correct groove. It should sit flat and fully seated — no twists, no bunching. A twisted O-ring leaks.
- Grease the inside of the spout. Add a little grease inside the bottom of the spout tube so it slides back over the rings smoothly instead of shaving them.
Match the sizes exactly. If you install a ring that’s too thin, it won’t fill the groove and you’ll still leak; too thick, and the spout won’t swivel smoothly. This is the same principle whether you’re fixing a kitchen faucet or a bathroom one — if you want the bathroom version of this repair, our guide on how to replace a bathroom faucet O-ring when it leaks at the base or spout covers the same sizing logic for smaller lavatory faucets. For a truly universal breakdown of the concept, the general tap O-ring replacement walkthrough is a handy companion.
How do I reassemble it and test that the leak is gone?
Reverse your steps — spout, retaining collar, handle, cap — then turn the water back on slowly and run the faucet while swiveling the spout to check for any weeping at the base. If it’s dry through a full side-to-side swing under pressure, you nailed it.
Reassembly checklist:
- Slide the spout straight down over the greased rings with a gentle twist so nothing pinches.
- Hand-tighten the retaining collar/dome cap, then snug it just past hand-tight — don’t gorilla it; overtightening cracks the plastic threads common on Glacier Bay parts.
- Reinstall the handle, tighten the set screw, and press the cap back on.
- Turn the supply valves back on slowly to avoid a pressure spike.
- Run hot and cold, swivel the spout fully both directions, and dry the base with a paper towel so any new moisture shows up immediately.
Give it a few minutes. A properly reseated O-ring seals instantly, so if you still see water at the base, the most likely mistakes are a twisted ring, the wrong size, or a nick in the ring from sliding the spout on dry. Pull it apart, re-grease, and try again — it’s not the faucet, it’s the fit.
When should you just replace the whole faucet instead of the O-rings?
Replace the whole faucet if the leak is coming from a cracked valve body, the cartridge is also shot, or you’ve done two O-ring swaps in a year — at that point the brass barrel or spout is worn and new rings won’t hold. For a budget faucet like Glacier Bay, if the fix starts creeping past $30 in parts, a new unit often makes more sense.
Here’s a simple decision guide:
| Situation | Fix the O-rings? | Replace the faucet? |
|---|---|---|
| Base leak, faucet is 1–7 years old | Yes — cheap, quick | No |
| Base leak + slow spout drip (bad cartridge too) | Do both if parts are available | Maybe, if parts are discontinued |
| Cracked or corroded valve body | No — won’t seal | Yes |
| Finish flaking, spout loose, multiple past repairs | Not worth it | Yes — upgrade |
| Faucet under warranty | Call for free parts first | Only if denied |
If you land on replacement, think about what’s failed before you buy again. Base O-ring leaks are more common on faucets with a swiveling high-arc spout, so pick a well-built model. Our roundups of the best pull-down kitchen sink faucet for a busy family kitchen and the best high-arc pull-down kitchen faucet both flag which models use durable ceramic cartridges and quality seals that resist this exact problem.
How do I make the new O-rings last longer?
Use silicone (not petroleum) grease, buy quality EPDM or nitrile rings rather than the cheapest generic pack, and re-grease the spout every couple of years — that combination typically doubles O-ring life to 5+ years even with hard water. Hard water is the real enemy: mineral scale grinds the rubber and dries it out.
- Silicone grease only. Petroleum jelly (Vaseline) feels like a fine substitute but it swells and degrades rubber O-rings — it’s the fastest way to a repeat leak.
- Choose the right rubber. EPDM and nitrile rings handle hot water and last longer than bargain rubber. If your kit doesn’t say, spend the extra couple of dollars on a named brand.
- Tackle hard water. If you’re on well or hard municipal water, mineral buildup is why your rings died early. Wiping the spout base and swivel area during regular cleaning slows scale.
- Don’t overtighten. Crushing the retaining collar deforms O-rings and cracks Glacier Bay’s plastic parts.
While you’ve got tools out, it’s worth checking the rest of the faucet. A wobbly handle, for instance, is a separate fix — see why a kitchen faucet lever handle gets loose and how to tighten it — and a weak stream after your repair usually just means the aerator needs cleaning.
FAQ
What size O-rings does a Glacier Bay kitchen faucet use?
Glacier Bay uses a few common sizes depending on the model, typically a larger spout O-ring around 3/4″ to 1″ outside diameter and a smaller one below it. The reliable move is to remove the old ring and measure its inside diameter and thickness, or buy a universal assortment kit so you have the right size on hand. Don’t guess — a ring even one size off will still leak.
Can I use plumber’s tape or petroleum jelly instead of silicone grease?
No. Plumber’s (PTFE) tape is for threaded pipe connections, not O-ring grooves, and petroleum jelly actually damages rubber O-rings over time by swelling them. Use food-safe silicone plumber’s grease — it’s a couple of dollars and it’s what O-rings are designed to work with.
Why is my Glacier Bay faucet still leaking after I replaced the O-rings?
The three usual causes are a twisted or pinched ring, the wrong ring size, or a nick in the ring from sliding the dry spout back on. Take it apart, re-grease everything, confirm the ring is seated flat in its groove, and reassemble. If it still leaks, the problem may be the cartridge or a cracked valve body rather than the O-rings.
How long does a Glacier Bay O-ring replacement take?
About 20–30 minutes for a first-timer, and closer to 10 once you’ve done it. The actual O-ring swap takes minutes — most of the time goes to removing the handle hardware and cleaning mineral scale off the valve body.
Does replacing the O-ring myself void the Glacier Bay warranty?
Glacier Bay faucets carry a limited lifetime warranty on the original purchaser that covers defects and often includes free replacement parts. Swapping a consumable O-ring yourself generally doesn’t void it, and Home Depot / Glacier Bay will frequently mail you replacement seals or a cartridge at no charge if you call with your model number — always try that before buying parts.
Do I need to turn off the main water supply, or just the faucet valves?
Just the two shutoff valves under the sink are enough for this repair. Turn them fully clockwise, open the faucet to confirm the water stops, and you’re clear to work. Only shut off the main if your under-sink valves are seized or leaking themselves.
A note on who wrote this
This guide was written by the Aniflux Home fixtures team, drawing on hands-on repair testing across dozens of single-handle kitchen faucets — including budget brands like Glacier Bay — and standard plumbing practice. At Aniflux Home (anifluxhome.com) we sell and service faucets every day, and we recommend replacing seals with rings that meet standard NSF/ANSI 61 material guidance for potable-water contact. When in doubt about your specific model or warranty coverage, contact Glacier Bay support with your model number before starting. This article is for general DIY guidance; if your faucet is hardwired to other plumbing issues, consult a licensed plumber.