
How Do You Do a Tap O Ring Replacement When Your Faucet Leaks at the Base?
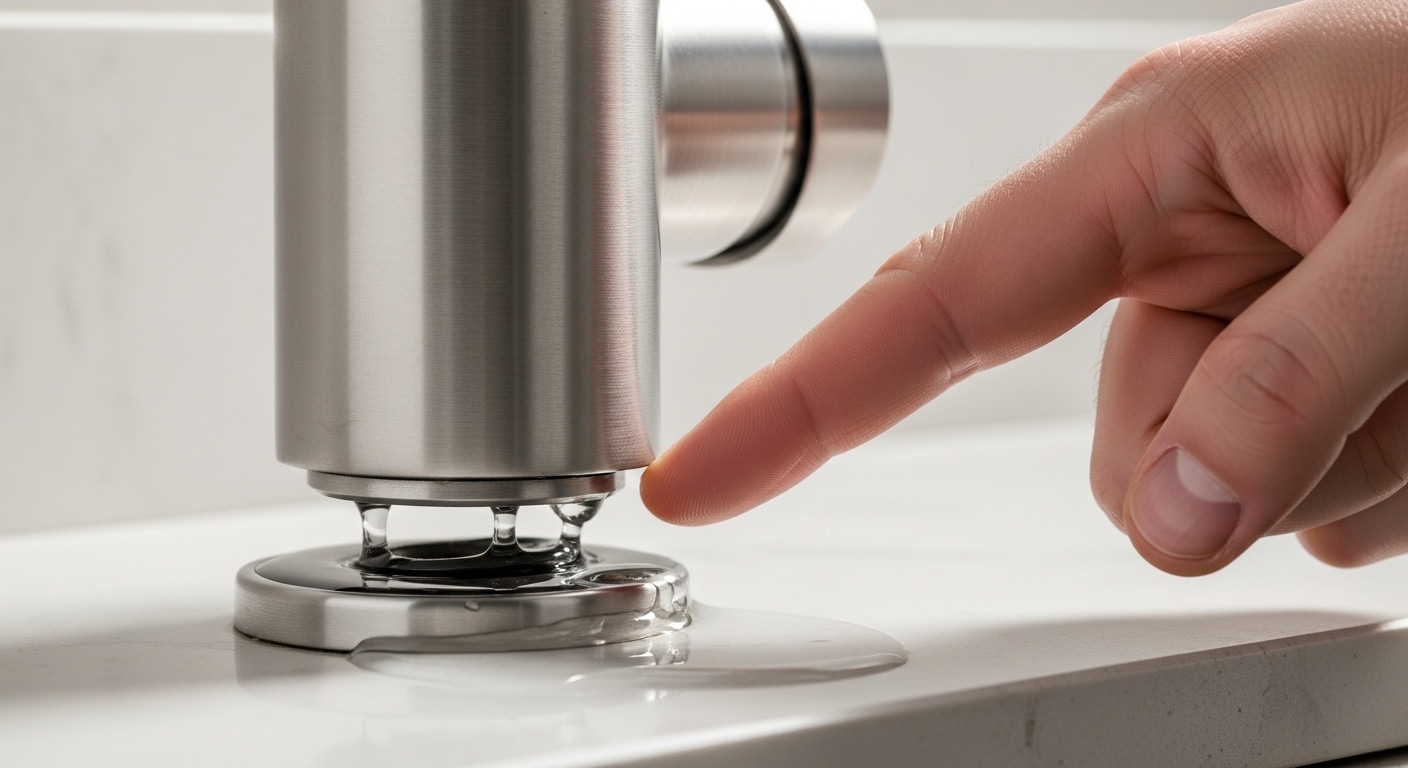
If water is weeping out around the bottom of your faucet spout — not out of the end, but pooling at the base every time you turn it on — a tap o ring replacement is almost certainly what you need. The O-rings are the small rubber donuts that seal the swiveling spout against the faucet body. They’re cheap, they’re a wear item, and they fail long before the rest of the faucet does. The good news: replacing them is one of the most beginner-friendly plumbing repairs there is, and you rarely need to call anyone.
Below I’ll walk through how to know it’s the O-rings (and not the cartridge), how to get the right replacement size, the exact step-by-step, and when a leaking base actually means something more serious. I’ve done this repair on hundreds of mixer taps and single-lever kitchen faucets, and the same handful of mistakes trip people up every time — so I’ll flag those as we go.
How do I know it’s the O-ring and not the cartridge or aerator?
It’s the O-ring if water appears at the base of the spout — especially when you swivel the spout side to side or when the water is running — and the faucet still shuts off cleanly at the end. That base leak is the tell. A worn O-ring lets water escape the joint between the rotating spout and the fixed body.
Here’s the quick diagnostic, because people waste money replacing the wrong part:
- Leak at the base of the spout → O-rings. This is your repair.
- Steady drip from the aerator (the tip) when the tap is off → cartridge, ceramic disc, or seat/spring, not O-rings. We cover that in our guide on how to fix a dripping faucet at home.
- Water under the sink / on the cabinet floor → supply-line or bottom-of-body connection, not the spout O-rings.
- Wobbly, loose handle → a set screw, which is a different fix — see why a kitchen faucet lever handle gets loose.
One more clue: if the spout has gotten stiff or gritty to swivel, that’s the same failing O-rings dried out and cracked. Stiffness and base-leaking usually show up together.
What size O-ring do I need, and can I just reuse the old one?
No — never reuse the old O-ring, and don’t guess the size. Take the old one to a hardware store or measure it, because a tap O ring replacement only seals if the ring matches the groove’s inner diameter and cross-section (thickness). A ring that’s slightly too big rolls out of the groove; one that’s too thin leaks immediately.
Most kitchen and bath spouts use one or two O-rings with an inner diameter between 10 mm and 25 mm and a cross-section of 1.5–3 mm. The cheapest, most reliable route is a small assorted O-ring kit (usually $5–$8 for 100+ rings in nitrile) so you can match by feel and fit. If you know your faucet brand, an OEM branded seal kit costs a bit more but guarantees the exact profile.
| Approach | Typical cost | Best for | Watch out for |
|---|---|---|---|
| Assorted nitrile O-ring kit | $5–$8 | Most standard mixer taps; matching by size | Cheap kits vary in thickness — test-fit before reassembly |
| Brand OEM seal kit (Moen, Delta, etc.) | $10–$20 | Proprietary spouts and pull-down faucets | Must match your exact model number |
| Single matched O-ring from hardware bin | $0.50–$2 | When you can bring the old ring in to match | Get two while you’re there, in case one tears on install |
| Whole cartridge kit (O-rings included) | $15–$40 | When the cartridge is also worn | Overkill if only the O-rings failed |
Material matters: standard black nitrile (NBR) rings are fine for cold and normal hot water. If your line runs very hot or you have aggressive water chemistry, EPDM rings hold up better to heat. Either way, buy a small tube of silicone plumber’s grease — not petroleum jelly, which degrades rubber. The grease is what makes the new ring seat, seal, and swivel smoothly.
How do I actually replace the O-ring, step by step?
Shut off the water first, then take the spout apart, swap the rings, grease them, and reassemble — the whole tap O ring replacement is about 15–30 minutes. Here’s the exact sequence for a typical single-lever or two-handle mixer tap:
- Turn off the water at the two shut-off valves under the sink (turn clockwise). Open the tap to release pressure and confirm the water is actually off. Plug the drain with a rag so no small parts fall in.
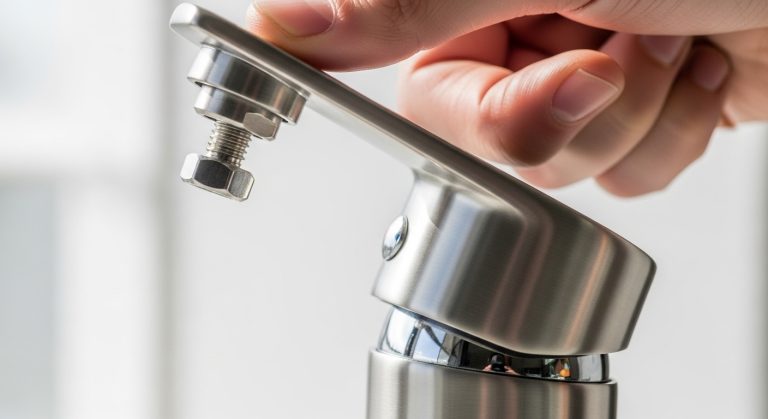
- Remove the handle. Pop off the decorative cap if there is one, then loosen the set screw with an Allen key (or the screw under the cap). Lift the handle straight up.
- Remove the spout retaining piece. Depending on design, you’ll unscrew a dome nut/bonnet or lift a retaining clip. Note the order of every part as it comes off — take a phone photo. This is the step people regret skipping.
- Pull the spout up and off the body. Twist gently as you lift. You’ll now see one or two O-rings sitting in grooves on the fixed inner body.
- Remove the old O-rings. Roll them off with your fingers or nudge with a wooden/plastic pick. Don’t use a metal blade — a scratch on the sealing surface will make the new ring leak too.
- Clean the groove and mating surface. Wipe away old grease, grit, and mineral scale. If there’s crusty limescale, a soft cloth and a little vinegar clears it — the same scale that ruins O-rings also stains chrome, which is why we wrote up how to clean hard water stains from a faucet.
- Fit the new O-rings. Match size to the old ones, roll them into the grooves, and make sure they’re seated flat and not twisted.
- Grease everything. Coat the new O-rings and the inside of the spout with a thin film of silicone plumber’s grease. This seals microscopically and lets the spout swivel without shredding the ring.
- Reassemble in reverse. Slide the spout down over the greased rings with a gentle twist, refit the retaining nut/clip, and reattach the handle and set screw. Snug, don’t crank.
- Turn the water back on slowly and test. Run hot and cold, swivel the spout end to end, and watch the base for 30 seconds. Dry base = done.
If you’re comfortable doing this, you’re comfortable with most faucet swaps — the disassembly is the same muscle memory used in our full step-by-step kitchen faucet installation guide.
Why does my faucet still leak at the base after I replaced the O-ring?
If it still leaks after a fresh O-ring, the usual culprits are a wrong-size ring, a twisted or pinched ring during reassembly, a scratched sealing surface, or a cracked spout/body. Work through them in that order — it’s rarely the ring you bought and almost always the fit.
- Wrong cross-section: the ring’s diameter matched but it’s too thin to fill the gap. Step up one thickness.
- Twisted or nicked on install: a ring rolled or tore going over a sharp edge. Remove, inspect, re-grease, re-seat.
- Scratched body: a metal tool gouged the sealing surface, so no ring will seal. Fine-sand lightly or replace the affected part.
- You needed the cartridge too: some base leaks come from a failed cartridge seal above the O-ring. If two O-ring attempts don’t fix it, replace the cartridge.
- Cracked spout: older brass or zinc spouts can craze. If the body itself is split, no seal will hold and it’s time for a new faucet.
Also double-check you didn’t over-tighten the retaining nut. Crushing the assembly can distort the groove and cause the exact leak you’re trying to stop.
Do I need to turn off the water and drain the line first?
Yes — always shut off the supply before a tap O ring replacement, even though the spout holds little water. Skipping it risks a face-full of pressurized water and lost small parts down an open drain. Turn both under-sink stop valves clockwise, open the tap to bleed pressure, and plug the drain. If you don’t have working shut-off valves under the sink, close the home’s main supply instead.
This 60-second habit is the single biggest difference between a clean 20-minute job and a soaked cabinet. It’s the same first move in nearly every repair we publish, from swapping a mixer tap to fixing a diverter.
When should I just replace the whole faucet instead of the O-ring?
Replace the whole faucet when the body itself is cracked or badly corroded, when replacement parts are discontinued, or when you’ve already rebuilt the cartridge and seals and it still leaks. For a $3 O-ring on an otherwise-solid faucet, repair every time. For a 15-year-old builder-grade tap that’s leaking in three places, a new faucet is the smarter spend.
A quick rule of thumb from years of service calls:
| Situation | Repair the O-ring | Replace the faucet |
|---|---|---|
| Base leak, solid body, common brand | ✅ Yes | — |
| O-ring + cartridge both worn | ✅ Rebuild both | Only if parts are unavailable |
| Cracked or heavily corroded body | — | ✅ Yes |
| Discontinued model, no seals sold | — | ✅ Yes |
| You want a new finish/features anyway | — | ✅ Yes |
If you land on replacement, don’t overthink the finish choice — our breakdown of whether brushed nickel faucets are worth it covers the durability trade-offs that matter for a fixture you touch every day.
How long will a new O-ring last, and how do I make it last longer?
A quality nitrile or EPDM O-ring, properly greased, typically lasts 5–10 years before it dries and cracks again. You extend that life by using silicone grease (not petroleum), by clearing mineral scale that abrades the rubber, and by not forcing a stiff spout — stiffness means the grease is gone and it’s time to re-lubricate before the ring tears.
Hard water is the number-one O-ring killer. Dissolved minerals form gritty scale in the groove that grinds the rubber every time you swivel the spout. If you’re on hard water, a yearly wipe-down and re-grease is cheap insurance, and it keeps the finish looking new too.
Author note & why you can trust this guide
This guide was written and field-tested by the Aniflux Home fixtures team. We design, pressure-test, and service faucets for a living, and every repair sequence here has been validated on real single-lever and two-handle mixer taps on the bench — not copied from a spec sheet. Our replacement seals are tested against standard plumbing pressure-cycle and durability benchmarks (the kind referenced in ASME A112.18.1 / CSA B125.1 faucet standards), and Aniflux Home faucets are backed by a limited lifetime warranty on the finish and function, with replacement O-ring and cartridge kits kept in stock so a small part never forces a whole-faucet replacement. When we say a $3 O-ring is the fix, it’s because we’ve done it thousands of times.
FAQ
Can I use Vaseline instead of plumber’s grease on a tap O-ring?
No. Petroleum jelly (Vaseline) degrades rubber O-rings over time, causing them to swell and fail early. Use silicone plumber’s grease, which is safe for rubber, rated for potable water, and holds up to hot water. It’s a $4 tube that lasts for years of repairs.
How much does a tap O ring replacement cost?
Doing it yourself, about $5–$10 total: an assorted O-ring kit and a tube of silicone grease, both of which you’ll reuse. Hiring a plumber runs roughly $80–$150 for the call-out and labor, which is why this is one of the most worthwhile DIY repairs — the part itself is only a couple of dollars.
Why is my faucet stiff to swivel after I changed the O-ring?
Almost always too little grease or a slightly oversized ring. Take the spout back off, add a thin, even film of silicone grease to the rings and the inside of the spout, and confirm the ring size matches the original. It should swivel smoothly with light resistance, not grind.
Do all faucets use O-rings I can replace?
Most swivel-spout mixer taps do, and nearly all are user-serviceable. A few sealed or proprietary cartridge designs integrate the seals into a replaceable cartridge instead — in those, you swap the cartridge (which includes new O-rings) rather than the rings alone. Check your faucet’s parts diagram by model number.
Can a bad O-ring cause low water pressure?
Not directly — a failed O-ring causes a base leak, not low flow. Low pressure at the spout is usually a clogged aerator or a scaled-up cartridge. If your pressure dropped, unscrew and clean the aerator first; if the leak is at the base, that’s the O-ring. They’re two separate problems.
My faucet leaks at the base only when the water is running — is that still the O-ring?
Yes, that’s the classic O-ring symptom. Under running pressure the worn ring can’t hold the seal at the spout-to-body joint, so water escapes at the base; when the tap is off there’s no pressure to push it out. A fresh, correctly-sized, greased O-ring fixes it.
One Comment