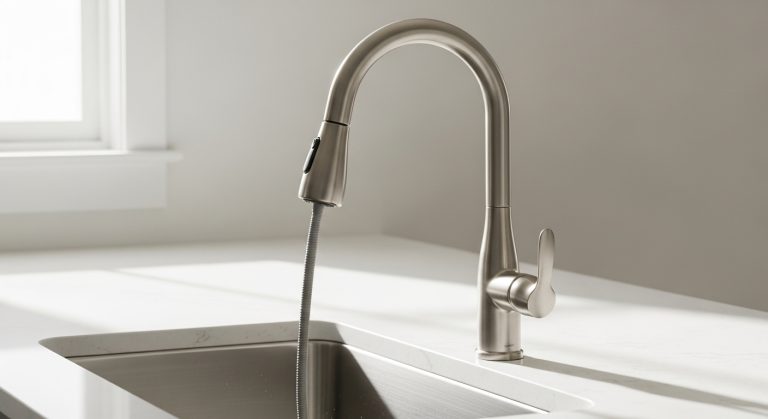
How Do You Install a Kitchen Mixer Tap Yourself, Step by Step?
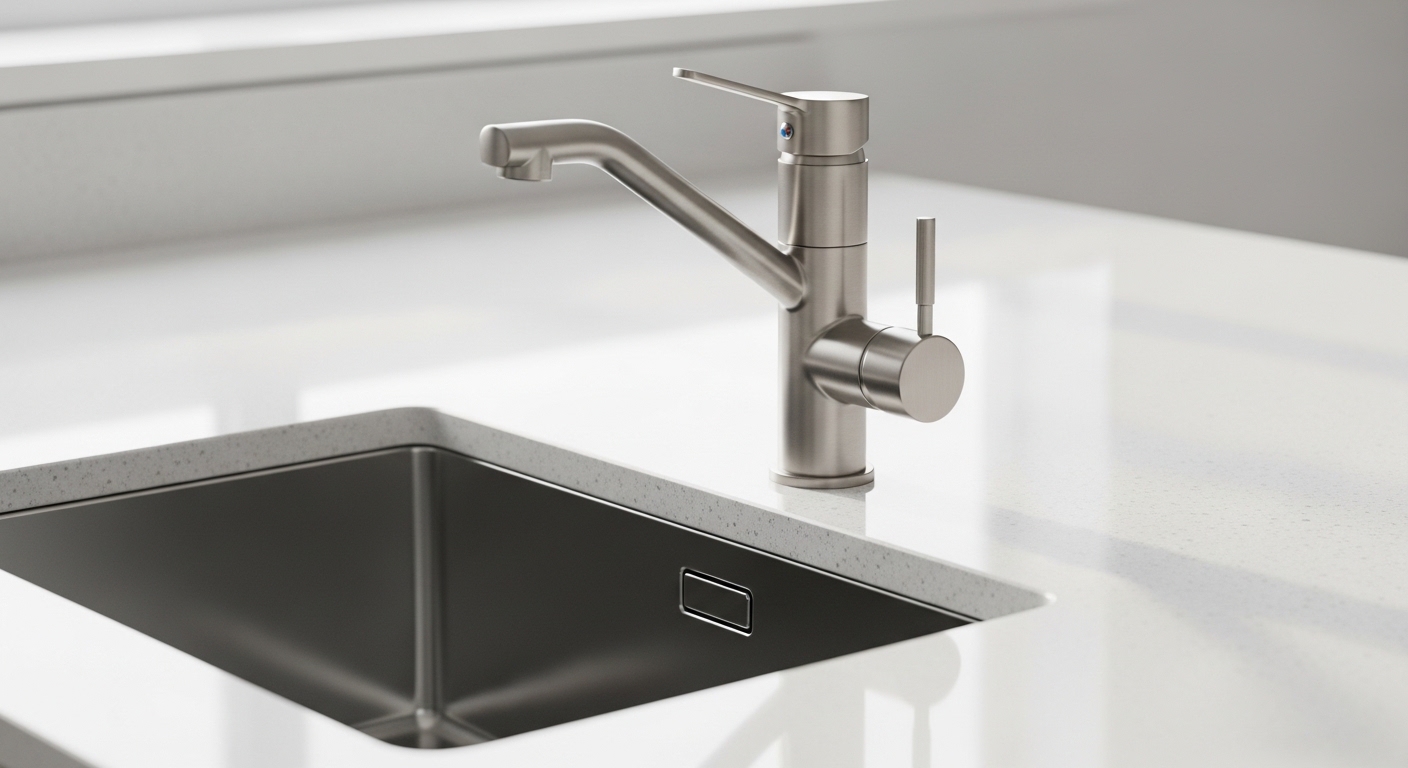
Learning how to install a kitchen mixer tap is one of the most satisfying DIY plumbing jobs you can take on, and honestly it’s less intimidating than it looks. A modern single-lever mixer tap is designed to drop into one hole in your sink or worktop, and connect to your existing water lines with two flexible braided hoses. If you can turn a spanner and follow a checklist, you can do this. Below, our team at Aniflux Home walks you through the whole process — the tools, the exact steps, the common mistakes, and how to know when it’s actually a plumber’s job.
What tools and parts do I actually need to fit a mixer tap?
You need surprisingly little. For a standard single-hole kitchen mixer tap, the core kit is an adjustable spanner (or a dedicated tap spanner / basin wrench), a bucket, an old towel, and PTFE thread tape. That’s genuinely most of it.
Here’s the full checklist so nothing stops you mid-job:
- Adjustable spanner — for the supply hose nuts and isolation valves.
- Basin wrench (crow’s-foot / tap spanner) — the long-reach tool that lets you grip the backnut in the tight space behind the sink bowl. This is the single tool that makes the difference between an easy job and a swearing match.
- PTFE tape — to seal any threaded joints that aren’t fitted with a rubber washer or O-ring.
- Bucket and old towels — the pipes will hold water even after you shut off the supply.
- Flexible braided tap connectors / hoses — many taps come with these attached; if not, match the length and thread size to your supply.
- Two isolation valves — if your existing pipes don’t already have them, fit them. They let you shut off water to just the tap in future.
- A torch or head-lamp — the cabinet under the sink is dark.
Before you buy anything, check how many tap holes your sink has and the hole diameter (usually 35mm for modern mixers). A single-lever mixer needs one hole; a traditional two-tap-hole setup may need a deck plate or a different tap style. If you’re replacing a tap that came from a big-box store, our guide on how to change a kitchen tap from B&Q yourself in a weekend covers the retail-kit quirks in more detail.
How do I remove the old kitchen tap first?
Turn off the water, then disconnect the supply hoses from below and undo the backnut that clamps the old tap to the sink — the tap then lifts straight out from the top. The removal is usually the hardest and messiest part of the whole job, mostly because of limescale and rust on old fittings.
Work through it in this order:
- Shut off the water. Turn the isolation valves under the sink to the closed position (slot turned across the pipe). No isolation valves? Turn off your main stopcock.
- Open the tap to release pressure and drain the residual water into your bucket.
- Disconnect the flexible hoses from the isolation valves with your spanner. Expect a cup or two of trapped water — have the towel ready.
- Undo the backnut. Reach up behind the bowl with your basin wrench and loosen the nut (and any washer or bottom plate) holding the tap body down. Decades-old backnuts can be seized — a squirt of penetrating oil and ten minutes of patience beats brute force.
- Lift the old tap out from the top and clean the sink surface. Scrape off any old sealant or gasket residue so the new tap seats flat.
What are the exact steps to install a kitchen mixer tap?
To install a kitchen mixer tap, feed the tap’s tails and hoses down through the mounting hole, secure the tap from underneath with the rubber gasket and backnut, connect the hoses to hot and cold, then pressure-test. Here is the sequence we use on every install:
- Attach the flexible hoses to the tap first (if not pre-fitted). It’s far easier to hand-tighten them onto the tap tails on your worktop than in the cabinet. Snug them with a quarter-turn of the spanner — do not overtighten, as the seals are rubber, not metal-to-metal.
- Fit the top gasket. Place the rubber or foam sealing gasket over the tap hole (or onto the base of the tap). This stops water sitting under the tap and creeping into the cabinet.
- Feed the tap through the hole. Guide the two hoses and the threaded stud down through the 35mm hole and sit the tap flat, lever facing the direction you want.
- Secure from below. Slide on the horseshoe washer / stabilising plate and rubber gasket, then thread the backnut up the stud and tighten with your basin wrench. Keep the tap straight while you tighten — check the spout alignment from above.
- Connect hot and cold. Attach the hoses to the correct isolation valves — hot on the left, cold on the right as you face the tap. Wrap PTFE tape on any threaded (non-washered) joint. Hand-tighten, then a gentle quarter to half-turn with the spanner.
- Turn the water back on slowly and check every joint (see the next section).
The single most common rookie error is cross-threading a hose nut onto the isolation valve. Always start every nut by hand and back it off if it doesn’t spin on smoothly. If the general kitchen-faucet flow is what you’re after rather than the mixer-specific details, our step-by-step kitchen faucet installation guide breaks each stage down with more photos, and brand-specific fitters like our Moen faucet with sprayer install walkthrough cover pull-out sprayer hose routing.
How do I check for leaks and test the tap after fitting?
Open the isolation valves slowly, then run the tap on both hot and cold and watch — and feel — every connection for at least a couple of minutes. A leak almost always shows up as a bead of water at a hose nut or the backnut, and it usually means a joint needs a fraction more tightening or the washer wasn’t seated.
Do these four checks in order:
- Static test: with the tap closed, open the valves and dry-touch every joint. Any dampness = a leaking connection under pressure.
- Flow test: run hot, then cold, then full mix. Confirm hot really is on the left and the flow is strong and steady.
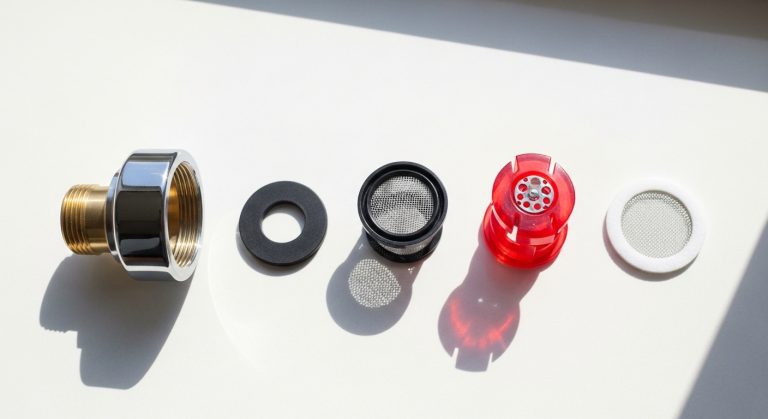
- Aerator check: unscrew the aerator once and flush the line for a few seconds to clear debris that can lodge during install — this prevents a spitting or weak stream later.
- Cabinet check: put a dry sheet of kitchen paper under the connections and check it after 10 minutes and again the next morning. Slow weeps only reveal themselves over hours.
If a joint keeps weeping, don’t just crank harder — undo it, inspect the rubber washer or re-do the PTFE tape (5–6 wraps clockwise), and remake it. If you later notice a persistent drip from the spout itself rather than the connections, that’s a cartridge or washer issue, and our guide on how to fix a dripping faucet at home walks you through it.
Single-lever vs. dual-lever vs. pull-out mixer taps — which is easiest to install?
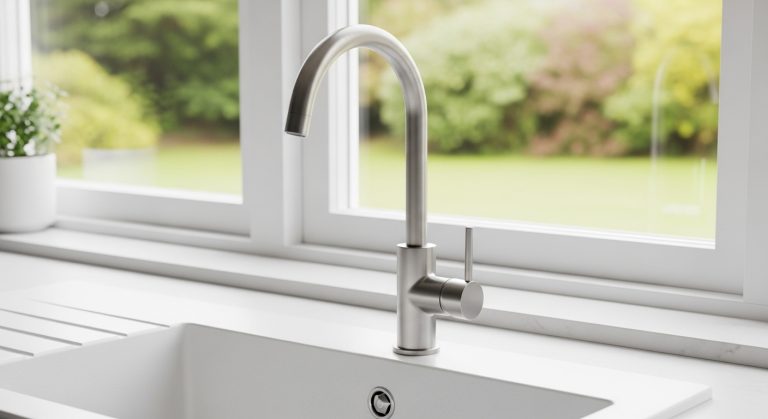
A single-lever, single-hole mixer is the easiest kitchen tap to install because it uses one mounting hole and two hoses with no extra components. Dual-lever and pull-out spray taps add either more holes or an extra weighted hose, which makes fitting a bit fiddlier. Here’s how they compare for a DIY install:
| Tap type | Holes needed | Install difficulty | Typical fitting time | Best for |
|---|---|---|---|---|
| Single-lever mixer | 1 (≈35mm) | Easiest | 45–75 min | Most modern kitchens; one-handed temp control |
| Dual-lever mixer | 1 or 3 | Moderate | 60–90 min | Traditional / classic-look kitchens |
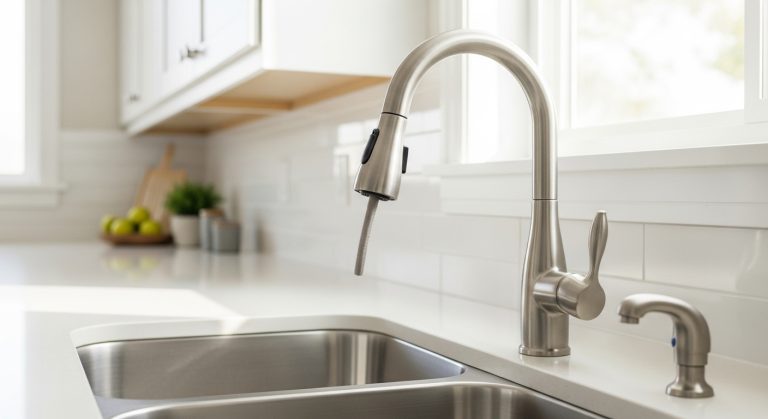
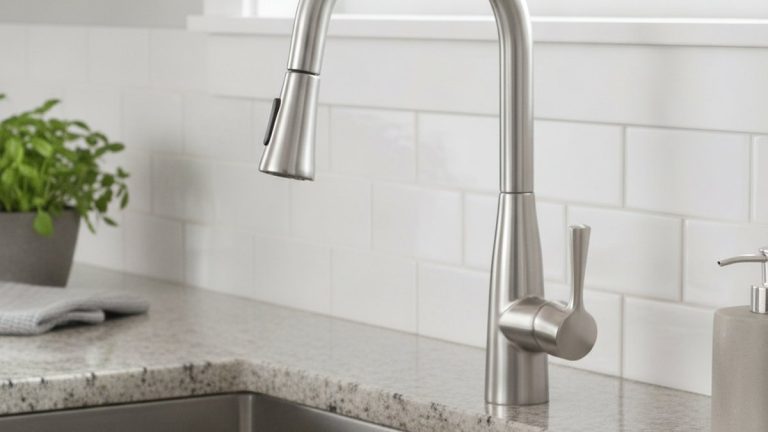
| Pull-out / pull-down spray | 1 | Moderate | 60–100 min | Busy family kitchens, deep pans |
| Boiling-water / 3-in-1 tap | 1 + tank space | Hardest (electrics + tank) | 2–4 hrs | Instant hot water; often pro-fit |
The pull-out and pull-down styles add one step — routing and clipping the spray hose so it retracts smoothly and attaching the counterweight — but they’re still very DIY-friendly. If you’re weighing up a spray tap for a household that cooks a lot, see our roundup of the best pull-down kitchen sink faucet for a busy family kitchen in 2026. Boiling-water taps are the exception — they involve a filter, a tank, and a fused electrical spur, so many people bring in a qualified installer for those.
When should I call a plumber instead of doing it myself?
Call a plumber if you have no isolation valves and can’t confidently work at the mains stopcock, if your pipework is old lead or corroded copper, if it needs soldering, or if you’re fitting a boiling-water tap that requires an electrical connection. For a straightforward like-for-like mixer swap, DIY is genuinely fine for most people.
Warning signs that tip the job into professional territory:
- Seized or corroded pipes that flex or crack when you apply a spanner.
- No shut-off anywhere obvious, or a stopcock that won’t fully close.
- Hard-water scale so heavy the old fittings are effectively welded solid — if that’s your area, our advice on removing hard water stains from a faucet will help keep the new tap looking good.
- Any gas, electrical, or unvented hot-water system nearby that you’re unsure about.
There’s no shame in it — sometimes paying for an hour of a plumber’s time is cheaper than a flooded cabinet.
How much does it cost to install a kitchen mixer tap?
Doing it yourself, your only cost is the tap plus a few consumables — typically £5–£20 for isolation valves, PTFE tape, and hoses if they’re not included. Hiring a plumber for a like-for-like swap usually runs £80–£150 in the UK (or roughly $100–$250 in the US), depending on how awkward the access is and whether new valves are needed.
The tap itself is the biggest variable. A solid single-lever mixer with a ceramic-disc cartridge — the part that determines how long the tap lasts before it drips — starts affordably and climbs with finish and features. Ceramic-disc cartridges are worth paying for: they outlast old rubber-washer designs by years.
FAQ
Do I need to turn off the water at the mains to fit a mixer tap?
Not always. If you have isolation valves on the hot and cold pipes under the sink, you can just close those two valves and leave the rest of your home’s water on. Only if there are no isolation valves do you need to shut off the main stopcock — and fitting isolation valves during the job is a smart upgrade so future work is quicker.
Which side is hot and which is cold on a kitchen mixer tap?
Hot is always on the left and cold on the right as you face the tap. Connect the hoses accordingly at the isolation valves. If you accidentally reverse them, the lever will feel backwards — swap the two hose connections to fix it, no need to remove the tap.
How long does it take to install a kitchen mixer tap?
A confident DIYer can swap a single-lever mixer in 45–90 minutes. First-timers should allow up to two hours, mostly because removing a seized old tap and its corroded backnut is the slow part. Pull-out spray taps add 15–30 minutes for hose routing.
Can I use PTFE tape or do I need washers on the hose connections?
The flexible braided hose connections use built-in rubber washers or O-rings, so they seal by compression — no PTFE needed there, and adding it can actually prevent a proper seal. Use PTFE tape only on threaded, metal-to-metal joints such as some isolation valve tails. Five to six clockwise wraps is plenty.
Why is my new mixer tap dripping or spitting after installation?
A weak or spitting stream right after fitting is almost always air or debris trapped in the line or aerator — unscrew the aerator and flush the tap for a few seconds. A persistent drip from the spout usually points to a cartridge not fully seated or a faulty washer, while drips from the connections mean a joint needs remaking. If a loose handle is the real issue, see how to tighten a loose kitchen faucet lever handle.
Do mixer taps fit any sink?
They fit any sink or worktop with a compatible tap hole — most modern mixers need a single 35mm hole. If your sink has two or three holes from an older tap set, you can use a deck/base plate to cover the extras, or choose a multi-hole tap. Always check the hole count and diameter before buying.
A note from the Aniflux Home team
This guide was written and reviewed by the product and installation team at Aniflux Home, where we’ve fitted, pressure-tested, and reviewed hundreds of kitchen taps across hard- and soft-water regions. Every mixer tap we sell is tested against recognised flow and durability standards, uses ceramic-disc cartridges rated for hundreds of thousands of open/close cycles, and is backed by a manufacturer warranty — check your specific model’s warranty card for coverage terms. If you’re still choosing the right fixture before you install, our guide on how to choose the right bathroom faucet applies many of the same durability and finish principles to the rest of your home.