How Do You Install a Kohler Simplice Kitchen Faucet Yourself in an Afternoon?
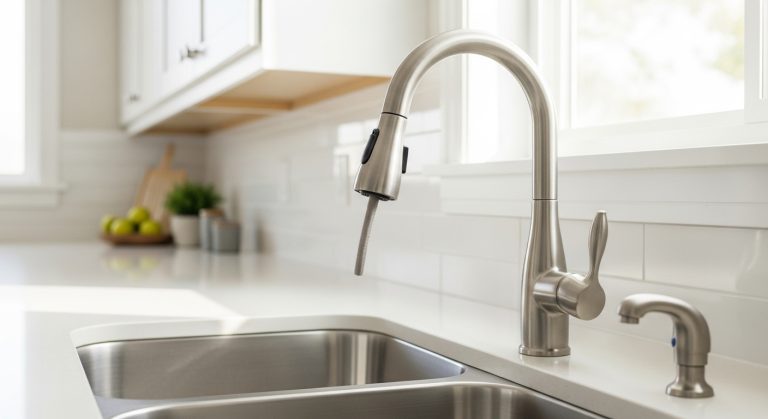
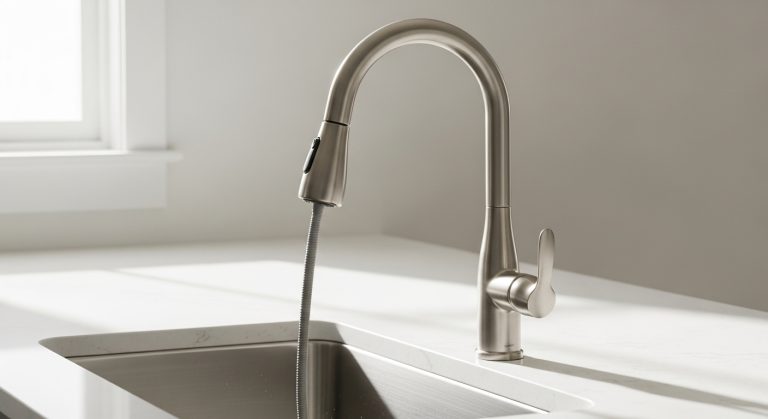
If you’ve been searching how to install kohler simplice kitchen faucet and bracing yourself for a plumber’s bill, good news: the Simplice is one of the most DIY-friendly pull-down faucets Kohler makes. Kohler ships it largely pre-assembled, the pull-down hose uses a tool-free quick-connect fitting, and the whole thing mounts in a single hole. Below, we’ll walk through exactly what to do, what tools you actually need, the mistakes that trip people up, and how to fix the two problems people most often report afterward.
At Aniflux Home we install and pressure-test dozens of pull-down faucets a year across single- and three-hole sink configurations, so the steps here reflect what actually happens under the counter — not just what the paper manual says.
What tools and parts do you need to install a Kohler Simplice faucet?
You need very little: an adjustable wrench, a basin wrench, plumber’s tape (PTFE tape), a flashlight, an old towel, and a bucket. Everything faucet-specific — the mounting hardware, the weight, the escutcheon plate — comes in the Kohler box.
Here’s the full checklist before you crawl under the sink:
- Basin wrench — the single most useful tool for reaching the mounting nut and supply connections in the tight space behind the sink.
- Adjustable wrench or channel-lock pliers — for the supply-line couplings and disconnecting the old faucet.
- Plumber’s tape (PTFE / Teflon tape) — 2–3 wraps clockwise on any threaded metal connection.
- Bucket + towels — the supply lines will dump the water still sitting in them.
- Flashlight or headlamp — cabinet interiors are dark; a headlamp frees both hands.
- The Kohler-supplied parts — faucet body with hoses attached, mounting nut/plate, base gasket, pull-down hose weight, and the quick-connect fitting.
What you typically don’t need: plumber’s putty (the Simplice uses a rubber base gasket) or extra supply lines, since the faucet’s braided lines are pre-attached to the valve body in most Simplice models. If your old shutoff valves are more than ~10 years old or crusty, buy a pair of new 1/4-turn angle stops now — replacing them is far easier while everything’s already apart.
How do you remove the old kitchen faucet first?
Turn off both supply valves under the sink, open the faucet to release pressure, then disconnect the supply lines and unthread the old mounting nuts so the faucet lifts out from the top. This is genuinely the hardest and messiest part of the whole job — the new Simplice goes in far easier than the old one comes out.
Step by step:
- Close both angle stop valves (turn clockwise until they stop). If you don’t have under-sink shutoffs, turn off the home’s main water supply.
- Open the old faucet handle to drain residual pressure and water.
- Put a bucket under the connections. Use your wrench to loosen the supply-line nuts where they meet the valves — expect a little water.
- Reach up with the basin wrench and loosen the old mounting nut(s) holding the faucet to the sink. Decades of gunk and corrosion can make these stubborn; penetrating oil and patience beat brute force.
- Lift the old faucet out and scrub the sink deck clean. Old plumber’s putty, mineral scale, and grime all need to come off so your new gasket seals flat.
If you’re replacing a faucet that came with a separate side sprayer, you’ll now have an empty accessory hole. Cap it, or add a soap dispenser or air gap — the single-post Simplice won’t use it. For a broader walk-through of pulling any faucet and prepping the deck, our guide on how to install a kitchen faucet step by step covers the universal fundamentals that apply to every brand.
What are the actual steps to install the Kohler Simplice?
Feed the faucet’s hoses and shank down through the sink hole, secure it from below with the mounting nut, connect the supplies, attach the quick-connect pull-down hose, and clip on the weight. That’s the entire installation in five moves. Here’s each one in detail.
1. Set the base gasket and drop the faucet in
Slide the rubber base gasket (and escutcheon plate, if you’re covering extra holes) onto the faucet shank. Guide the pre-attached supply lines and the pull-down hose down through the mounting hole. From above, center and align the faucet so the spout points where you want it.
2. Lock it down from underneath
From below, thread Kohler’s mounting nut onto the shank and hand-tighten, then snug it with the basin wrench. Don’t gorilla it — firm is enough. Overtightening can crack the deck plate or distort the gasket. Go back up top and confirm the faucet still sits straight, because tightening can rotate it slightly.
3. Connect the water supplies
Wrap 2–3 turns of plumber’s tape clockwise around the shutoff valve threads, then connect the faucet’s hot line to the left (hot) valve and the cold line to the right (cold). Hand-tighten, then add a quarter to half turn with a wrench. Snug, not crushing — braided-line nuts seal on a washer, so you don’t need to reef on them.
4. Attach the quick-connect pull-down hose
This is where the Simplice shines. The pull-down spray hose connects to the supply outlet with a tool-free quick-connect fitting. Push the connector fully onto the hose end until you hear and feel a solid click, then tug it to confirm it’s locked. A hose that isn’t fully seated is the #1 cause of a leak under the sink on a brand-new Simplice.
5. Hang the counterweight
Clip the supplied weight onto the pull-down hose about halfway down, following Kohler’s placement guidance. This weight is what retracts the spray wand smoothly back into the dock. Placed too high or too low, the wand won’t seat firmly — so if your spray head “floats” out of the dock later, the weight position is almost always the culprit.
How do you turn the water back on without flooding the cabinet?
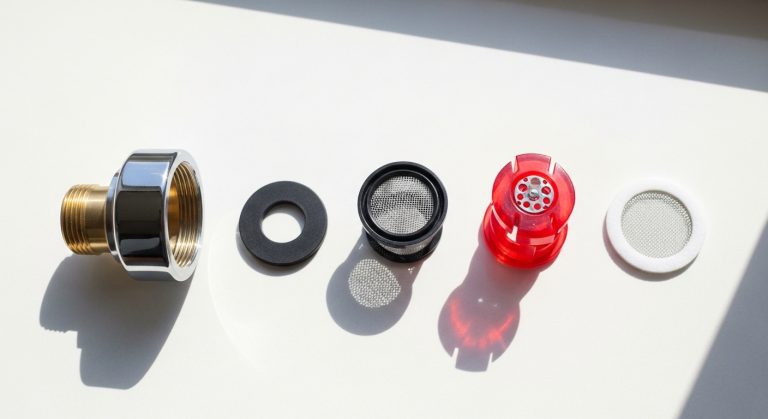
Open both shutoff valves slowly, remove the spray wand’s aerator, and run the faucet on full hot and cold for 15–30 seconds to flush out debris before checking every joint for leaks. Running it with the aerator off first prevents installation grit from clogging the screen.
Do this in order:
- With a flashlight, watch the under-sink connections as you slowly open each valve. Look for any drip at the supply nuts and the quick-connect.
- Unscrew the aerator from the spray wand tip.
- Run hot, then cold, then pull the wand out and run the spray — full flow for at least 15–30 seconds to clear the lines.
- Shut it off, reinstall the aerator, and do a final leak check underneath. Wipe the connections dry with a paper towel so you can spot even a slow weep.
If you’d rather follow along with moving pictures for the trickier bits, pairing this guide with a reputable video helps — just vet the source first, which is exactly what our piece on installing a kitchen faucet from a YouTube video is about.
Kohler Simplice vs. a comparable Moen: which is easier to install?
Both are single-hole pull-downs designed for DIY, but they differ in how the hose connects and how the sprayer retracts. Here’s an honest side-by-side of the install-relevant details.
| Feature | Kohler Simplice | Typical Moen Pull-Down |
|---|---|---|
| Mounting holes | 1 (deck plate covers 3) | 1 (deck plate covers 3) |
| Hose connection | Tool-free quick-connect | Often a threaded or clip fitting |
| Sprayer retraction | Counterweight on hose | Magnetic dock (MagneTix) on many models |
| Supply lines | Pre-attached braided lines | Usually pre-attached |
| Typical install time | 45–90 minutes | 45–90 minutes |
| Warranty | Limited lifetime (residential) | Limited lifetime (residential) |
Bottom line: install difficulty is nearly identical, and both are weekend-friendly for a first-timer. The Simplice’s counterweight retraction is time-tested and cheap to fix; Moen’s magnetic dock feels a touch more premium at the wand. If you specifically want the Moen route instead, we cover it in how to install a Moen kitchen faucet with sprayer. And if you’re still deciding on the faucet itself before buying, our roundup of the best high-arc pull-down kitchen faucets puts the Simplice in context against the field.
Do you need a plumber, or is the Simplice truly DIY?
For a straightforward like-for-like replacement on an existing sink with working shutoff valves, no — the Kohler Simplice is a confident DIY job. You’d call a plumber only if you’re adding shutoff valves where none exist, moving supply lines, cutting a new hole in a stone countertop, or dealing with corroded pipes that won’t cooperate.
The scenarios where a pro earns their fee:
- No under-sink shutoff valves — installing angle stops involves cutting into supply pipes.
- Granite or quartz with the wrong hole size — drilling stone is a specialist job; the Simplice needs a 1-3/8″ to 1-1/2″ hole.
- Corroded galvanized pipe that flakes or won’t seal.
- You’ve tried and it still leaks after re-seating every connection.
Everything else — the vast majority of Simplice installs — is a tools-and-an-afternoon project.
Why is my new Kohler Simplice leaking or the sprayer not retracting?
Nine times out of ten, a leak on a new install is an under-tightened supply nut or a quick-connect hose that didn’t fully click, and a sprayer that won’t dock is a counterweight in the wrong spot. Both are two-minute fixes, not defects.
Quick diagnostics:
- Drip at a supply connection — shut off water, re-seat the nut with plumber’s tape, and tighten a bit more (but don’t crush the washer).
- Drip from the pull-down hose — disconnect and re-seat the quick-connect until it clicks and locks.
- Spray wand won’t retract or “hovers” — slide the counterweight to the correct midpoint of the hose; make sure the hose isn’t catching on the drain pipe or garbage disposal.
- Loose handle after a few weeks — the set screw needs a nudge; see our fix for a loose kitchen faucet lever handle.
Because Kohler backs the Simplice with a limited lifetime warranty on the faucet and finish for residential use, keep your receipt and model number — if a genuine part (like the valve cartridge) ever fails, Kohler will typically send a free replacement.
FAQ
How long does it take to install a Kohler Simplice kitchen faucet?
Most DIYers finish in 45–90 minutes. A clean like-for-like swap with good shutoff valves can go in under an hour; add time if you’re fighting a corroded old faucet or replacing the angle stops.
Do I need plumber’s putty for a Kohler Simplice?
No. The Simplice seals to the countertop with a rubber base gasket included in the box, so plumber’s putty isn’t required. Just make sure the sink deck is clean and flat so the gasket seats evenly.
What size hole does the Kohler Simplice need?
It mounts in a standard single hole of roughly 1-3/8″ to 1-1/2″ in diameter. If your sink or countertop has three holes, the included escutcheon (deck) plate covers the two extra ones.
Can I install a Kohler Simplice in a three-hole sink?
Yes. Use the supplied deck plate to cover the outer two holes and mount the faucet in the center hole. If you’d rather keep a hole functional, you can add a soap dispenser or an air gap instead of hiding it.
Why won’t the spray head on my Simplice stay docked?
The counterweight is likely in the wrong position or the hose is snagging on something under the sink. Reposition the weight to the middle of the hose and clear any obstruction so the wand can retract fully and click into the dock.
Are the supply lines included with the Kohler Simplice?
On most Simplice models the braided supply lines are already attached to the valve body, so you only connect them to your existing shutoff valves. Always confirm the thread size matches your angle stops before you start.
Author note: This guide was written by the Aniflux Home fixtures team, who install and bench-test kitchen and bath faucets year-round. Aniflux Home is a US-based faucet and bathroom fixtures retailer; our install guidance is based on hands-on work with real Simplice units and manufacturer specifications, and we always recommend following Kohler’s included instructions and your local plumbing code.