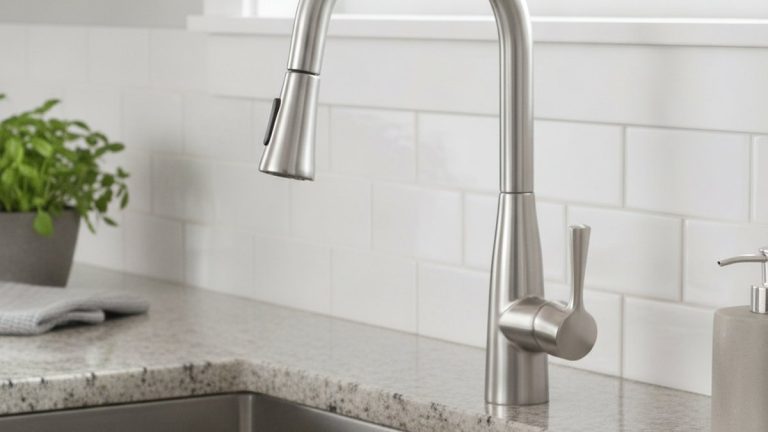
How Do You Install a Moen Kitchen Faucet With Sprayer Yourself?
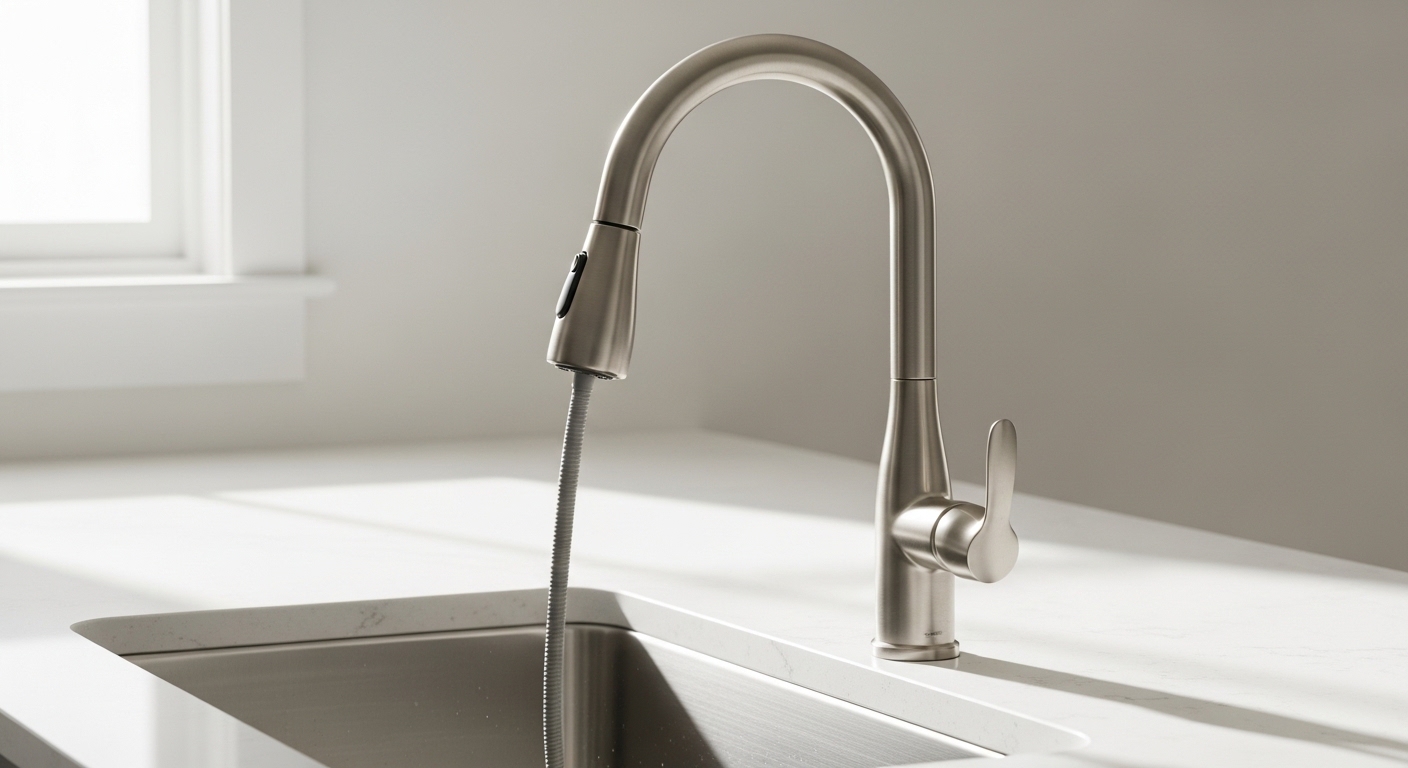
Learning how to install a Moen kitchen faucet with sprayer is one of the most satisfying weekend upgrades you can do, and the honest truth is that Moen makes it easier than almost anyone. Whether you’ve got a pulldown model (the sprayer is built into the spout) or a side-sprayer model (a separate wand next to the faucet), the core steps are the same: disconnect old, seat new, hook up water, hook up sprayer, test. Below, our team at Aniflux Home walks you through the whole thing in plain English — the tools, the exact order, the little traps that trip people up, and how to tell if you’re actually done or just think you’re done.
What tools and parts do I actually need before I start?
You need a basin wrench, an adjustable wrench, a bucket, a flashlight, and a towel — that’s the short answer, and for most Moen kitchen faucets you won’t need anything else. Moen designs its faucets so that the trickiest part (tightening the mount from under the sink) is doable with the tools most homeowners already own.
Here’s the full checklist so nothing stops you halfway:
- Basin wrench — the long-handled tool that reaches up behind the sink to grab the mounting nut and the supply-line connections. This is the one tool people forget and then have to run to the store for.
- Adjustable wrench or channel-lock pliers — for the supply-line coupling nuts.
- Bucket and towels — the supply lines and the old faucet body will hold leftover water.
- Flashlight or headlamp — the cabinet under your sink is dark and cramped.
- Plumber’s putty or silicone — only if your faucet uses a separate deck plate that isn’t pre-gasketed. Most modern Moen faucets ship with a rubber or foam gasket, so you may not need any.
- New braided stainless supply lines — if yours are more than 5–7 years old, replace them now while everything is apart. They’re $8 each and cheap insurance.
- The Moen box contents — spout, mounting hardware, escutcheon/deck plate (for 3-hole sinks), sprayer hose, counterweight (pulldown), and the little bag of clips and washers. Lay these out and confirm nothing’s missing before you touch the plumbing.
One tip from experience: take a phone photo of your current under-sink connections before you disconnect anything. It’s a free “reset” reference if you get confused reassembling.
How do I remove my old kitchen faucet without flooding the cabinet?
Shut off both hot and cold supply valves under the sink first, then open the faucet to release pressure — that’s the step that prevents the flood. If your shutoff valves are old, stuck, or missing, turn off the main water supply to the house instead. Never assume the little valves under the sink fully seal; test by opening the faucet and confirming no water comes out.
Once the water’s off, work in this order:
- Put a bucket under the connections and open the faucet handle to drain residual water and drop the pressure.
- Disconnect the supply lines from the faucet shanks with your wrench. Expect a little water to dribble out — that’s what the bucket is for.
- If you have a side sprayer, disconnect its hose too.
- Reach up with the basin wrench and loosen the mounting nut(s) holding the old faucet to the sink. On older faucets these can be corroded; a shot of penetrating oil and ten minutes of patience beats stripping the nut.
- Lift the old faucet out from the top and scrape off any old putty, gasket residue, or hard-water crust on the sink deck.
This is also the perfect moment to deal with any buildup around the mounting holes. If you’re staring at chalky mineral deposits, our guide on how to clean hard water stains from a faucet will get that deck spotless before the new faucet ever touches it — a clean, flat surface is what makes a leak-free seal.
How do I install the Moen faucet through the sink — one hole or three?
Drop the faucet body down through the mounting hole, then secure it from below with the mounting nut Moen provides — that’s the whole install for a single-hole faucet. The number of holes in your sink decides whether you use the deck plate (escutcheon) that comes in the box.
Moen kitchen faucets are typically single-hole designs, but they include an optional deck plate so they fit standard 3-hole American sinks too. Here’s how to match them:
| Sink configuration | What to do | Deck plate? |
|---|---|---|
| 1 hole (single mount) | Faucet body drops straight through; seat the base gasket on the deck | No — leave it in the box |
| 3 holes, 4″ spread (standard) | Use the included deck plate to cover the outer two holes | Yes |
| 3 holes, want a separate side sprayer | Faucet in center hole, side sprayer in one outer hole, cover or use the third | Optional |
| 2 holes | Faucet in one, soap dispenser or air gap in the other | Sometimes |
To seat it: run the faucet’s flexible hoses and the mounting stem down through the hole (and through the deck plate if you’re using one). Make sure the base gasket sits flat and centered. From underneath, thread on Moen’s mounting nut — many newer models use a tool-free “Duralock” or a plastic wing-nut style mount you can hand-tighten, then snug with the basin wrench. Before you fully lock it, go up top and aim the spout straight over the sink. Once it’s aligned, tighten fully. Don’t overtighten a plastic mount — hand-tight plus a quarter turn is plenty.
If this is your first faucet ever and you’d like the fundamentals reinforced beyond the Moen specifics, our broader walkthrough on how to install a kitchen faucet step by step covers the universal principles that apply to any brand.
How do I connect the sprayer hose and the counterweight on a Moen pulldown?
For a Moen pulldown, you attach the spray hose to the faucet’s supply outlet with the quick-connect fitting, then clip the counterweight onto the hose under the sink — the weight is what pulls the wand back into the spout after use. Skip the counterweight or place it wrong, and the sprayer won’t retract properly, which is the number-one complaint people have after a DIY install.
The steps differ slightly by sprayer type:
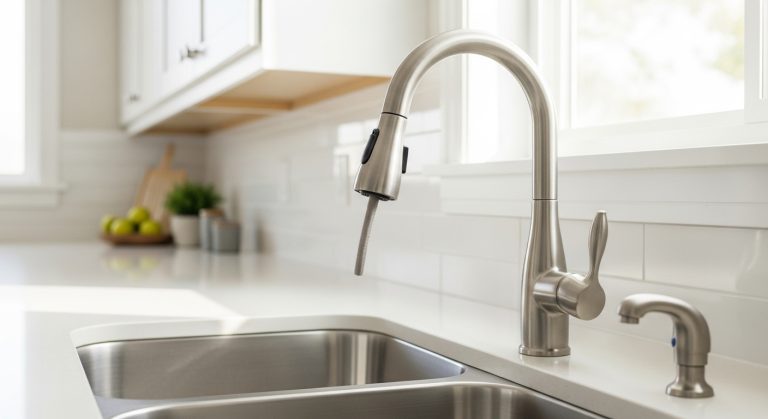
- Pulldown/pullout (integrated sprayer): Feed the spray hose down through the faucet, then push its connector onto the faucet outlet until you hear or feel the quick-connect click. Give it a firm tug to confirm it’s locked. Then attach the counterweight at the spot Moen marks in the manual — usually near the middle of the hose’s slack — and make sure the hose can travel freely without catching on the garbage disposal, the drain pipe, or the cabinet wall.
- Side sprayer (separate wand): Feed the sprayer hose up through its own hole in the sink, drop the diverter/sprayer nipple, and thread the sprayer hose onto the underside connection of the faucet body. Hand-tighten, then a light turn with the wrench.
The counterweight is genuinely important. Before you close up the cabinet, pull the wand all the way out and let it go — it should glide back in and dock with a satisfying little snap. If it sags or won’t return, reposition the weight lower on the hose or clear whatever it’s snagging on.
How do I connect the water lines and check for leaks?
Connect the hot supply to the left inlet and cold to the right, hand-tighten the coupling nuts, then snug them about a quarter to half turn with a wrench — tight enough to seal, not so tight you crack the fitting. Braided stainless lines with rubber washers seal on compression, so you don’t need Teflon tape on those connections (you only need tape on tapered pipe threads, which most faucet hookups aren’t).
Then do the leak test the right way, because “no drip in the first ten seconds” doesn’t mean you’re done:
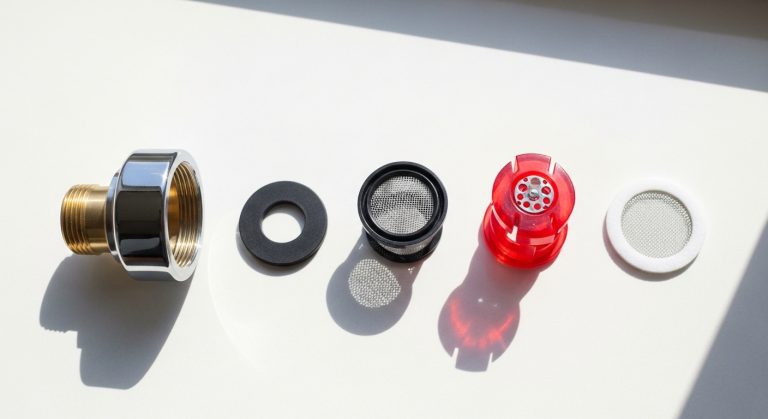
- Remove the aerator from the spout tip. Moen recommends flushing the lines with the aerator off so debris from the pipes doesn’t clog it.
- Turn both shutoff valves back on slowly.
- Run hot and cold for at least 15–20 seconds each, and cycle the sprayer.
- Get under the sink with your flashlight and touch every connection with a dry paper towel — a slow weep won’t be visible but will darken the towel.
- Reinstall the aerator once the water runs clear.
If you spot a drip at a coupling, tighten it a hair more. If it still weeps, take it apart and check that the washer is seated flat and not pinched. A leak you ignore at install time is a warped cabinet floor six months later — so it’s worth ten extra minutes now. If you ever develop a persistent drip down the road, our guide on how to fix a dripping faucet at home covers cartridge and O-ring fixes.
How long does it take, and should I ever just call a plumber?
Budget 45–90 minutes for a first-timer and about 30 minutes once you’ve done a couple — and you should call a plumber only if your shutoff valves are broken, your supply lines are hard-piped copper without valves, or the old faucet nuts are so corroded they won’t move. Those are plumbing problems, not faucet problems, and they’re worth a pro’s time.
For 90% of homeowners, installing a Moen kitchen faucet with sprayer is firmly in DIY territory. The situations where the clock stretches out are almost always the removal of the old faucet (seized nuts, cramped cabinets), not the install of the new Moen. If you hit a corroded nut you can’t budge after penetrating oil and real effort, a plumber can free it in minutes with the right tool — and that’s a fine reason to make the call.
Finish choice matters for long-term maintenance too. Brushed and spot-resist finishes hide water spots far better in a busy kitchen, and if you’re weighing options, whether brushed nickel faucets are worth it is a genuinely useful read before you commit to a look you’ll see every day.
What mistakes do people make installing a Moen faucet with sprayer?
The most common mistakes are forgetting the counterweight, over-tightening plastic mounting nuts, skipping the line flush, and not aligning the spout before locking it down. Every one of these is easy to avoid once you know to watch for it.
| Mistake | What happens | The fix |
|---|---|---|
| No counterweight (pulldown) | Wand won’t retract or docks weakly | Clip the weight on the hose’s slack, clear of obstructions |
| Over-tightened plastic mount | Cracked nut, wobbly faucet, slow leak | Hand-tight plus a quarter turn — no more |
| Aerator left on during flush | Debris clogs the screen, weak flow | Remove aerator, flush 20 sec, reinstall |
| Spout not aligned | Faucet points at the counter edge | Aim over the basin before final tightening |
| Reused old kinked supply lines | Restricted flow or a future burst | Install fresh braided stainless lines |
FAQ
Do I need a plumber to install a Moen kitchen faucet with sprayer?
No, most people can install a Moen kitchen faucet with sprayer themselves in under 90 minutes with a basin wrench and an adjustable wrench. You’d only need a plumber if your shutoff valves are broken, your lines are hard-piped without valves, or the old faucet’s mounting nuts are too corroded to remove.
Why won’t my Moen pulldown sprayer retract after installation?
Almost always it’s the counterweight — either it wasn’t clipped on, it’s positioned too high on the hose, or the hose is snagging on the drain pipe or garbage disposal. Reposition the weight lower on the slack of the hose and make sure the hose has a clear path to travel, and the wand should dock on its own.
Do I need plumber’s tape or putty for a Moen faucet?
Usually not. Braided supply lines seal with a rubber washer under compression, so no tape is needed there, and most Moen faucets include a base gasket instead of requiring plumber’s putty. Use putty only if your specific deck plate isn’t pre-gasketed, and use Teflon tape only on tapered pipe threads, which faucet hookups generally aren’t.
Can a Moen single-hole faucet fit my 3-hole sink?
Yes. Moen single-hole kitchen faucets include an optional deck plate (escutcheon) that covers the two outer holes of a standard 4-inch 3-hole sink, so the same faucet works on either configuration. For a 1-hole sink, you simply leave the deck plate in the box.
Why is my new Moen faucet leaking underneath after install?
A leak under the sink after install is nearly always a supply-line connection that needs a slight extra turn, a washer that’s pinched or missing, or a mounting nut that isn’t fully seated. Dry each connection with a paper towel, run the water, and watch which one darkens — then tighten that fitting a hair or reseat the washer.
Does installing the faucet myself void the Moen warranty?
No. Moen’s residential faucets carry a limited lifetime warranty against leaks, drips, and finish defects that applies whether you or a plumber installs it, as long as it’s installed per the included instructions. Keep your receipt and the model number, and register the product if Moen offers it for your model.
A note from the Aniflux Home team
This guide was written and reviewed by the fixtures specialists at Aniflux Home, where we test, install, and photograph kitchen and bath faucets every week so our advice reflects real bench and under-sink experience — not spec sheets. We install these faucets ourselves, so the tips here (like flushing with the aerator off and pull-testing the quick-connect) come from doing it, not guessing. Moen kitchen faucets meet ASME/ANSI and NSF/ANSI 61 & 372 lead-free standards and carry a limited lifetime warranty on residential models, which is a big part of why we recommend them to first-time DIY installers. Once your faucet is in, if you’re refreshing the rest of the room, our guide on how to choose the right bathroom faucet keeps your finishes and styles coordinated.