
How Do You Install a Kitchen Faucet From a YouTube Video Without Messing It Up?
If you’ve been searching “how to install kitchen faucet youtube” at 9 p.m. with a leaky old faucet and a full sink, here’s the honest truth: video is genuinely the best way to learn this job, but only if you watch the right video and know the handful of steps where people actually go wrong. A kitchen faucet swap is one of the most beginner-friendly plumbing jobs there is — no soldering, no cutting pipe, no permits. It’s mostly working blind under a cabinet, tightening nuts you can barely see. That’s exactly why a good visual guide helps, and exactly why a bad one leaves you with a slow drip you won’t notice for three days.
At Aniflux Home we’ve helped thousands of customers install our faucets, and we’ve watched enough “quick and easy” tutorials to know which shortcuts cause callbacks. This guide walks you through how to use YouTube smartly, what tools and steps every video skips, and how to avoid the three mistakes that turn a one-hour job into a weekend of re-doing it.
Can a Total Beginner Really Install a Kitchen Faucet Just From a YouTube Video?
Yes — if you can shut off a valve, turn a wrench, and follow directions in order, you can do this. A kitchen faucet install is rated one of the easiest plumbing DIY jobs precisely because everything is accessible: no walls to open, no pipe to cut. The two things video adds that written instructions can’t are (1) showing you what the connections actually look like crammed under a cabinet, and (2) letting you pause and rewind at the exact moment you’re stuck.
The catch is that “kitchen faucet” isn’t one thing. A single-hole pull-down installs differently than a 3-hole widespread or a bridge faucet, and every brand — Moen, Delta, Kohler, and our own Aniflux models — uses slightly different mounting hardware. So the goal isn’t just to watch a video. It’s to watch the video that matches your faucet, then use the universal steps below to fill in what that video glosses over. If you’ve done any small home repair before — even swapping a light fixture — you have the skill level for this.
Which YouTube Video Should You Actually Follow?
Follow the manufacturer’s own install video for your specific model, and if that doesn’t exist, pick a general video that matches your mount type (single-hole vs. 3-hole) and sprayer style (pull-down, pull-out, or side sprayer). A Moen pull-down video will steer you wrong if you bought a 3-hole widespread — the mounting hardware and deck plate are completely different.
Here’s how to vet a video in 30 seconds before you commit an hour to it:
- Does the sink match yours? Count the holes. One-hole and three-hole installs diverge right at the start.
- Is it recent-ish? Quick-connect hoses and tool-free mounting nuts changed a lot in the last few years. A 2012 video may show fussy hardware your new faucet doesn’t even use.
- Do they show the under-cabinet view? Skip any video that only films from above. The whole hard part happens underneath.
- Do they shut off and disconnect the old faucet on camera? Removal is half the battle; a video that starts with a bare sink skips the part you’ll struggle with most.
- Is it the brand you bought? Manufacturer channels show the exact clips, gaskets, and torque their warranty assumes.
One more tip: read the top comments. If a dozen people say “the hardest part was the old supply lines” or “mine had a different gasket,” that tells you where you’ll get stuck, before you get there.
What Tools and Materials Do You Need Before You Hit Play?
You need a basin wrench, an adjustable wrench (or channel-lock pliers), plumber’s tape, a bucket, a flashlight or headlamp, and a towel — that’s the core kit for almost every kitchen faucet install. The single tool most videos assume you own but you probably don’t is the basin wrench: its swiveling head is the only thing that reaches the mounting and supply nuts jammed against the back of the sink. Trying this with regular pliers is the number-one reason a “one-hour” job stretches into three.
Gather everything before you start the video so you’re not crawling out from under the cabinet mid-step with wet hands. Here’s the full list, and why each item earns its spot:
- Basin wrench — reaches the mounting nuts behind and under the sink. Non-negotiable.
- Adjustable wrench / channel locks — for the water supply line nuts.
- Plumber’s (PTFE) tape — wrap the threaded shank of the shutoff valve and any threaded connection to prevent slow weeps.
- Bucket + towels — the old lines always hold leftover water. Always.
- Flashlight or headlamp — a headlamp keeps both hands free, which matters a lot under there.
- Plumber’s putty or silicone — only if your faucet or deck plate doesn’t come with its own gasket. Many new ones do; check your box first.
- New braided supply lines — cheap insurance. If your old ones are older than about five years, replace them while everything’s apart.
If your faucet came with a pull-down sprayer, you’ll also have a hose and a weight to attach — keep the little bag of parts open and nearby so nothing rolls under the fridge.
What Are the Step-by-Step Stages Every Good Install Video Follows?
Every reliable kitchen faucet install video follows the same six-stage arc: shut off water, disconnect and remove the old faucet, drop in the new faucet, secure it from below, connect the supply lines and sprayer, then turn the water back on and check for leaks. If a video skips straight to “drop in the new faucet,” it’s leaving out the part you’ll actually wrestle with.
Here’s the full sequence so you can follow along and know what’s coming next:
- Shut off both water supplies under the sink (hot and cold), then open the old faucet to release pressure and confirm the water’s truly off.
- Disconnect the supply lines from the shutoff valves. Have the bucket ready.
- Remove the old faucet by loosening its mounting nuts from below with the basin wrench, then lifting it out from the top.
- Clean the sink deck — scrape off old putty, gunk, and hard-water crust so your new gasket seals flat. Skipping this causes base leaks later.
- Set the new faucet through the hole(s), using the supplied gasket or deck plate, and route the sprayer hose down through the center.
- Secure from below and connect lines, wrap threads with plumber’s tape, hand-tighten plus a quarter-turn, attach the sprayer hose and weight, then slowly turn the water back on and watch every joint for 60 seconds.
Because the removal and connection stages trip people up most, it’s worth reading a written step-by-step alongside the video. Our own step-by-step kitchen faucet install guide breaks each stage down with the details videos rush past, and if you specifically bought a Moen with a side or pull-down sprayer, the Moen-with-sprayer walkthrough covers that hose routing in detail. Brits and anyone with a mixer-style tap will want the kitchen mixer tap install guide instead, since the connections differ slightly.
Single-Hole vs. 3-Hole vs. Pull-Down: Which Install Is Actually Harder?
A single-hole pull-down faucet is the easiest install; a 3-hole widespread with separate handles is the most involved because you’re sealing and connecting three points instead of one. Pull-down faucets add one extra step — routing and weighting the sprayer hose — but that step is genuinely easy. Here’s how the common types stack up so you know what you’re signing up for before you press play.
| Faucet Type | Difficulty | Typical Time | What’s Trickiest |
|---|---|---|---|
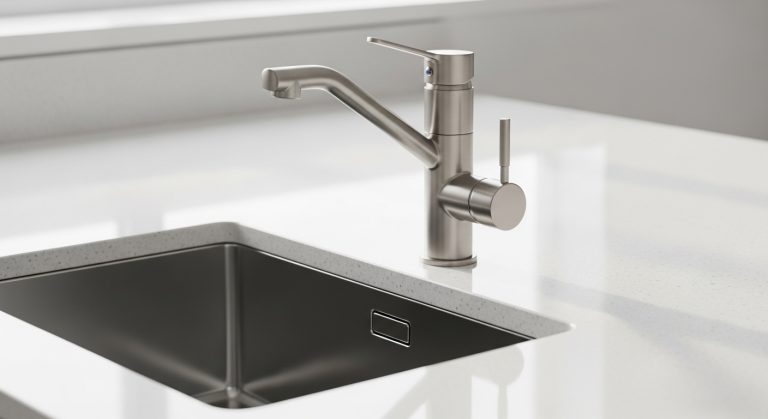
| Single-hole (standard) | Easiest | 30–45 min | Reaching the single mounting nut |
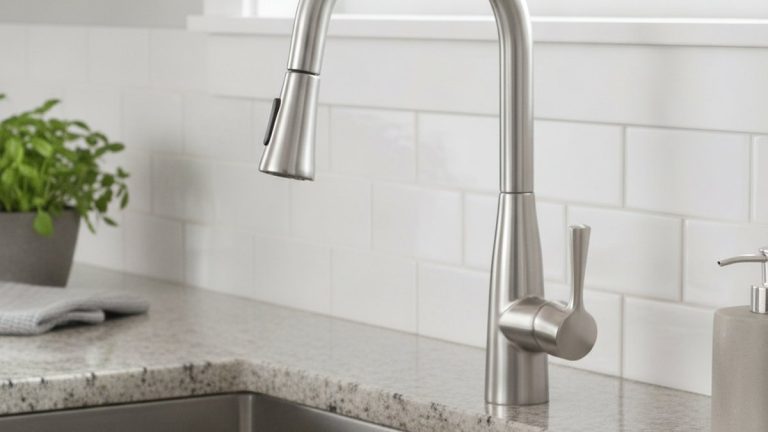
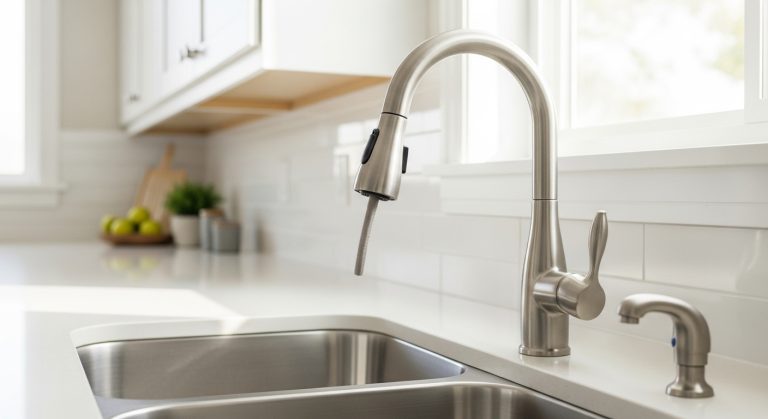
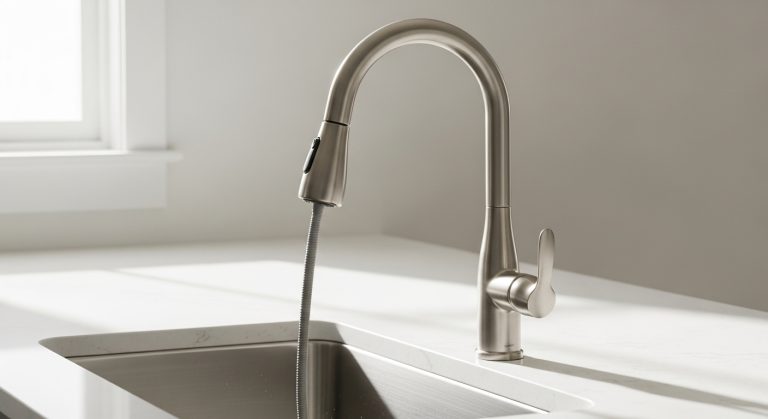
| Single-hole pull-down | Easy | 45–60 min | Routing and weighting the sprayer hose |
| 3-hole with deck plate | Moderate | 60–75 min | Sealing the deck plate evenly |
| 3-hole widespread (separate handles) | Hardest DIY | 75–120 min | Three connection points + valve alignment |
| Bridge faucet | Moderate–Hard | 60–90 min | Aligning the exposed bridge to two holes |
The good news: if you have an existing faucet coming out, your sink already has the right hole configuration, so match your new faucet to it and the install stays straightforward. Trouble only appears when people buy a single-hole faucet for a 3-hole sink (you’ll need a deck plate to cover the extra holes) or vice versa.
What Do YouTube Videos Get Wrong or Leave Out?
Most videos underplay three things: how stubborn the old faucet is to remove, how important it is to clean the sink deck before sealing, and how easy it is to overtighten plastic mounting nuts and crack them. The install itself is usually smooth; it’s the removal, the prep, and the finish that separate a leak-free result from a callback.
Watch out for these specific gaps:
- Corroded old nuts. Videos show a clean-off in ten seconds. In real life, a 15-year-old mounting nut may need penetrating oil and patience. Budget extra time for removal, not installation.
- “Just tighten it.” Modern faucets use plastic mounting nuts you tighten by hand plus a quarter-turn — no wrench cranking. Overtightening cracks the nut or warps the gasket and causes the exact base leak you were trying to prevent.
- Skipping the deck clean. A new gasket can’t seal over old putty ridges and hard-water crust. Scrape it flat and dry before you set the new faucet.
- Not testing the sprayer under pressure. Pull the sprayer all the way out, then let it retract, while watching the hose connection under the sink. A loose sprayer hose leaks inside the cabinet where you won’t see it for days.
- Old supply lines reused. If your braided lines are brittle or crimped, replace them now. They cost a few dollars and fail at the worst time.
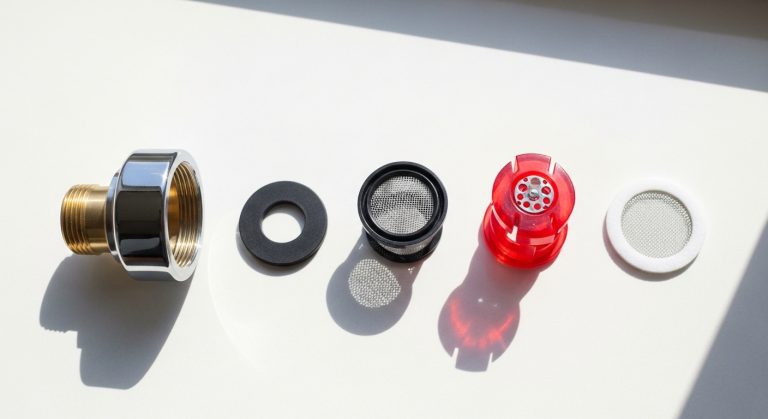
One thing videos rarely mention: after your first day of use, the faucet body and aerator can trap loosened mineral debris and spray oddly. If yours does, our guides on reassembling a kitchen faucet aerator and clearing it out will get flow back to normal in a few minutes.
How Do You Know the Install Worked — and When Should You Just Call a Pro?
You know it worked when there’s zero drip at every connection after five minutes of running both hot and cold, the handle moves smoothly through its full range, and the sprayer retracts cleanly on its own. If you can’t get a shutoff valve to close, the valve itself is weeping, or you can’t stop a leak after re-taping and re-tightening twice, that’s your cue to call a plumber — those are supply-side problems, not faucet problems.
Do this final check every time: run the faucet for a full minute, then dry every joint with a paper towel and watch for a fresh bead of water. Check the base of the faucet on top of the sink too, not just underneath. A slow base weep usually means the deck gasket wasn’t seated flat or the mounting nut isn’t snug enough — both quick fixes if you catch them now instead of after the cabinet floor swells.
Call a pro if: the shutoff valves are seized or leaking (they may need replacing, which involves working on the copper stub-out), your supply lines don’t match the new faucet’s fittings and no adapter works, or you simply don’t have a basin wrench and can’t reach the nuts. There’s no shame in it — the faucet portion is DIY, but corroded valves are a legitimate plumbing job.
Author note: This guide was written by the Aniflux Home fixtures team, drawing on years of hands-on faucet installs and the install-support questions our customers actually send us. Aniflux Home designs and sells kitchen and bathroom faucets built to U.S. plumbing standards, and every Aniflux faucet is pressure-tested before it ships and backed by our limited lifetime warranty on finish and function — so if a part ever fails during a correct install, we replace it. We recommend following your faucet’s included instructions and manufacturer video first; this article fills in the universal steps those videos tend to skip.
FAQ
How long does it take to install a kitchen faucet following a YouTube video?
Plan on 45–90 minutes for a first-timer, including watching and pausing the video. A simple single-hole faucet can go in under 45 minutes; a 3-hole widespread or a badly corroded old faucet can push past two hours. Removing the old faucet usually takes longer than installing the new one.
Do I need a plumber, or can I really do this myself?
For the faucet itself, you can do it yourself — it’s one of the easiest plumbing DIY jobs, with no cutting or soldering. You only need a plumber if the shutoff valves are seized or leaking, or if your supply connections don’t match and no adapter fits.
What’s the one tool I can’t skip?
A basin wrench. Its swiveling head is the only practical way to reach the mounting and supply nuts crammed against the back of the sink. Everything else you might improvise; this one you shouldn’t.
Do I need plumber’s putty or does the faucet come sealed?
Many modern faucets and deck plates include their own rubber or foam gasket, so you don’t need putty — check your box first. If there’s no gasket, use plumber’s putty or a thin bead of silicone under the base to seal it to the sink deck.
Why is my new faucet leaking at the base after I installed it?
A base leak almost always means the gasket wasn’t seated flat or the mounting nut isn’t tight enough. Turn off the water, lift the faucet, clean any debris or old putty off the deck, reseat the gasket, and hand-tighten the nut plus a quarter-turn. Don’t overtighten — cracking a plastic nut causes the same leak.
Can I use a single-hole faucet on my old 3-hole sink?
Yes — buy the single-hole faucet with a matching deck plate (escutcheon) that covers the two extra holes. Most single-hole kitchen faucets include one or offer it as an add-on. Without the deck plate you’d have two open holes in your sink.
One Comment