How Do You Do an O Ring Replacement for a Moen Kitchen Faucet That Leaks at the Base?
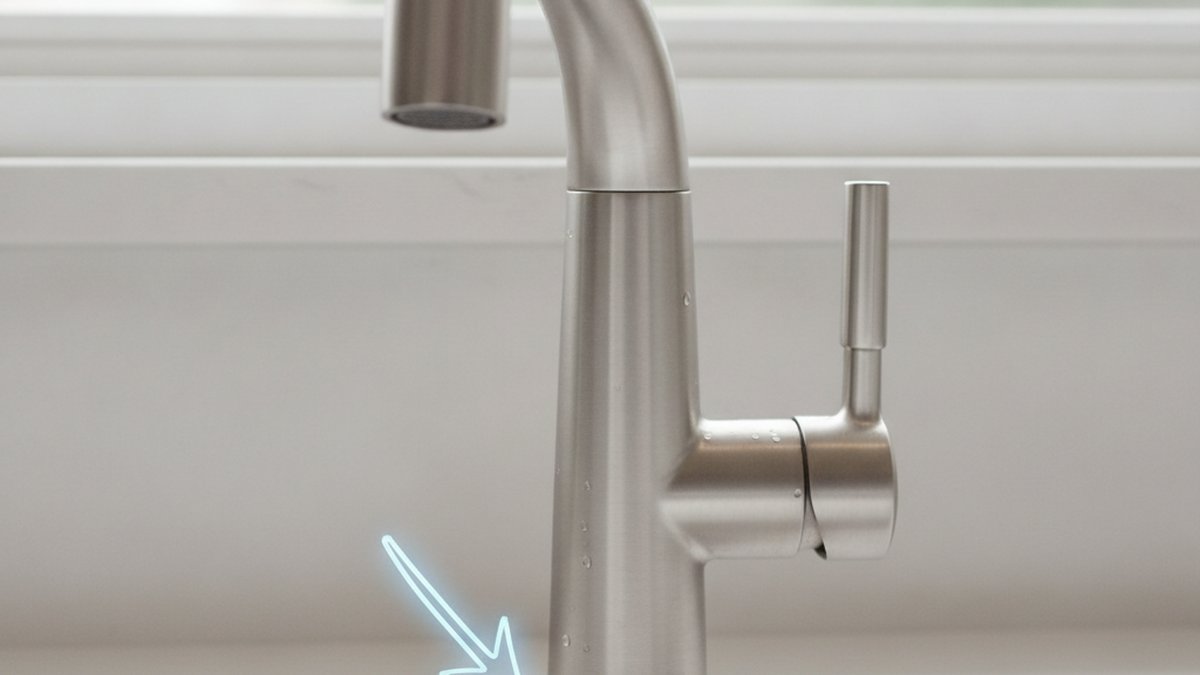
If your Moen faucet drips or weeps at the base of the spout every time you turn it on — not from the aerator, but right where the spout meets the deck — an o ring replacement for Moen kitchen faucet is almost always the fix, and it’s one of the easiest plumbing repairs you can do yourself. Those little rubber rings are cheap wear parts. They harden, flatten, and crack over 5–10 years, and once they do, water sneaks past them and pools around the base. You don’t need a plumber, you don’t need to replace the whole faucet, and you don’t need to touch the water supply lines under the sink beyond turning them off.
At Aniflux Home we’ve walked thousands of customers through this exact repair, and the pattern is always the same: people assume a base leak means the faucet is dying, when really it’s a $6 bag of O-rings. Below is the full walkthrough — how to know it’s the O-rings, which rings your model actually takes, how to swap them step by step, and how to keep them from failing again.
How do I know the leak is the O-rings and not something else?
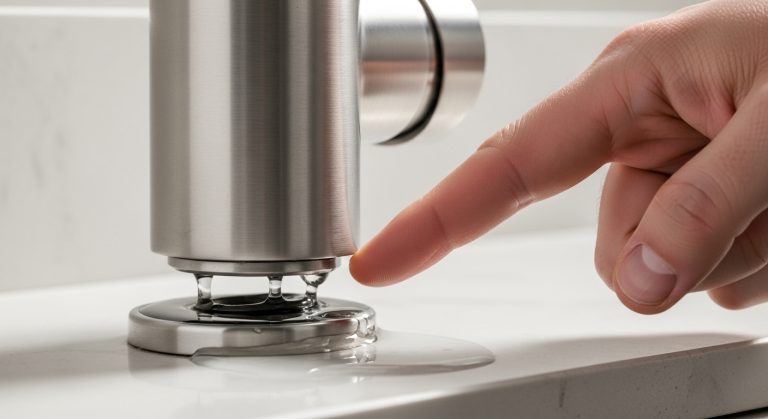
You know it’s the O-rings when water appears around the base of the spout — especially when you swivel the spout or run the faucet — rather than dripping from the tip or pooling under the sink. That base-of-spout weep is the classic O-ring signature on a Moen kitchen faucet.
Here’s a quick way to diagnose before you take anything apart. Dry the whole faucet with a towel, then run the water and swivel the spout left to right. Watch the seam where the spout meets the faucet body:
- Water seeping from the spout base, worse when you rotate it → worn spout O-rings. This is the repair in this article.
- Constant drip from the aerator/spout tip even when handle is off → worn cartridge (Moen 1225 or 1255), not O-rings. Different part.
- Puddle under the sink on the supply lines → loose supply connection or a failing cartridge, not the spout O-rings.
- Leak at the handle → often the cartridge or a loose handle screw, not the spout rings.
If it’s genuinely the base, O-rings are your answer. If you’re seeing a steady drip from the tip instead, our guide on how to fix a dripping faucet at home covers the cartridge route. And if the whole handle wiggles when you use it, that’s a separate quick fix in why your kitchen faucet lever handle is loose and how to tighten it.
What O-rings does my Moen kitchen faucet actually take?
Most single-handle Moen kitchen faucets use two spout O-rings sold in Moen’s genuine repair kits — most commonly kit 101014 or the older 145 / 96778 rings — while high-arc pull-down models often use a larger pair. The exact size depends on your model, so the safest move is to pull the old rings out first and match them, or look up your model number stamped under the faucet or printed on the original box.
Moen O-rings are made from EPDM or nitrile rubber and are sized to fractions of an inch. Getting the diameter and thickness right matters — an O-ring that’s slightly too thin won’t seal, and one that’s too fat won’t let the spout swivel. Here’s how the common options stack up:
| O-ring option | Fits | Approx. cost | Best for |
|---|---|---|---|
| Moen 101014 kit | Many single-handle high-arc & pull-out spouts | $6–$9 | Most modern Moen kitchen faucets |
| Moen 145 / 96778 | Older single-handle kitchen & bar faucets | $5–$8 | Faucets 8+ years old |
| Moen 100429 (pull-down) | Larger high-arc pull-down spouts | $7–$10 | Big-spout pull-down models |
| Generic universal O-ring assortment | Any brand, if size matches | $8–$12 | Emergency / mixed repairs |
Our honest advice: buy the genuine Moen kit if you can. Moen backs many of its faucets with a limited lifetime warranty and its repair parts are dimensionally exact, so you’re not gambling on a hardware-store ring that’s a hair off. A universal assortment is fine in a pinch — just measure the inner diameter and cross-section against the old ring before you install it.
What tools and parts do I need before I start?
You need almost nothing — a hex/Allen key, a flathead screwdriver, replacement O-rings, and silicone plumber’s grease. That’s the entire shopping list for a Moen spout O-ring swap, and most of it may already be in a kitchen drawer.
- New O-rings — the correct Moen kit for your model (see table above).
- Hex/Allen key — usually 7/64″ or 3/32″ for the handle set screw. A Moen faucet often ships with the right one.
- Flathead screwdriver — to gently pry off old rings and pop the handle cap.
- Silicone plumber’s grease — NOT petroleum jelly. Petroleum-based grease degrades rubber O-rings; silicone grease keeps them supple and helps the spout swivel.
- Clean rag & a bowl — to catch small parts and residual water.
- Optional: a dental pick or small screwdriver — makes rolling old rings off the groove easier.
Skip the petroleum jelly. It’s the single most common mistake we see — people grease a fresh O-ring with Vaseline, and six months later the rubber has swollen and failed again. Silicone grease is a $5 tube that lasts years.
How do you replace the O-rings on a Moen kitchen faucet, step by step?
Replacing the O-rings takes about 20 minutes: turn off the water, remove the handle and spout, slide off the old rings, grease and roll on the new ones, and reassemble. Here’s the full sequence. It’s the same core process whether you have a standard single-handle model or a pull-down.
- Shut off the water. Turn the two supply valves under the sink clockwise until they stop. Open the faucet to release pressure and confirm the water is truly off. Plug the drain so no screws vanish down it.
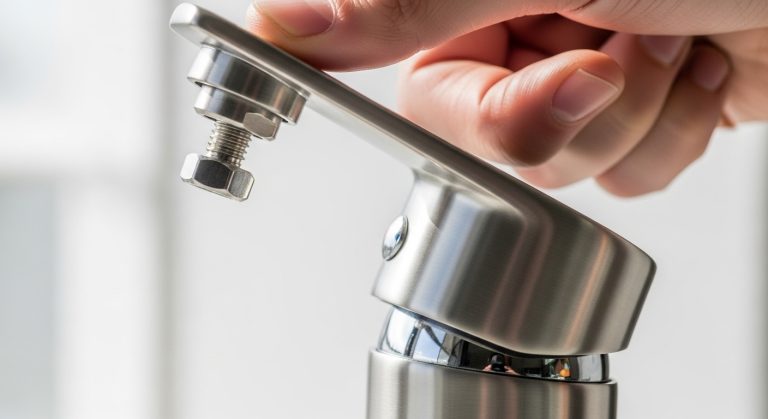
- Remove the handle. Find the set screw under the handle (usually at the base or under a small decorative cap you pop off with a flathead). Loosen it with the hex key — don’t remove it fully, just enough to lift the handle straight up and off.
- Take off the spout. Depending on the model, you’ll unscrew a retaining collar or dome nut by hand, or lift a retaining clip. Once it’s free, pull the spout straight up off the faucet body. You’ll now see the brass valve stem with the O-rings around it.
- Remove the old O-rings. Note how many there are and where they sit (usually two — one higher, one lower). Roll each one off with your fingers or a dental pick. Line them up in order so you install the new ones the same way.
- Clean the grooves. Wipe the valve stem and O-ring grooves with a rag to remove old grease, mineral scale, and rubber crumbs. A clean groove is what lets the new ring seat and seal properly.
- Grease and install the new O-rings. Put a thin film of silicone plumber’s grease on each new ring, then roll — don’t stretch or force — it into its groove. The grease helps it seat and keeps the spout swiveling smoothly.
- Reassemble. Slide the spout back down over the stem (twist gently as you push so you don’t pinch the rings), reattach the retaining collar or clip, drop the handle back on, and tighten the set screw. Snug, not gorilla-tight.
- Turn the water back on and test. Open the supply valves slowly, run the faucet, and swivel the spout. Dry the base with a towel and watch for any weep. Dry base = job done.
If your faucet has a side sprayer or the spout gave you trouble coming off, it’s worth glancing at our full teardown in how to install a Moen kitchen faucet with sprayer — the assembly steps are the same in reverse, so it doubles as a re-installation reference.
Why does the leak come back, or why won’t the new O-ring seal?
If a fresh O-ring still leaks or fails within months, the usual culprits are the wrong ring size, petroleum-based grease, a scratched valve stem, or a torn ring pinched during reassembly. O-rings are simple, so when they don’t work it’s nearly always one of those four things.
- Wrong size. A ring that’s too thin can’t fill the gap; too thick and it deforms or tears. Always match the old ring or your model number.
- Petroleum jelly instead of silicone grease. It swells and rots the rubber. Redo it with silicone plumber’s grease.
- Scratched or scaled valve stem. Hard-water scale or a nick on the brass stem gives water a path around the ring. Clean the stem thoroughly; if it’s gouged, you may need a new stem or cartridge.
- Pinched ring on reassembly. Forcing the spout down straight can shear the ring. Twist gently as you seat it.
- It was never the O-rings. If the drip is from the tip, not the base, you needed a cartridge, not O-rings.
Hard water is the quiet enemy here. Mineral buildup on the stem and inside the spout wears O-rings out faster and can score the sealing surface. If your area has hard water, it’s worth periodically cleaning the faucet — our guide on how to clean hard water stains from a faucet keeps scale off the parts that seal. The same rubber-ring principle applies across brands too; if you also have a Delta touch faucet or another tap acting up, see Delta touch faucet O-ring replacement and our general tap O-ring replacement walkthrough.
Should you replace the whole cartridge or just the O-rings?
Replace just the O-rings if the leak is only at the spout base and the faucet otherwise works normally; replace the cartridge if the faucet drips from the tip, is hard to turn, mixes hot and cold poorly, or the handle feels loose or gritty. They’re different failures with different parts.
| Symptom | Likely fix | Part cost | Difficulty |
|---|---|---|---|
| Water weeps at spout base when running/swiveling | O-ring replacement | $5–$10 | Easy (20 min) |
| Drip from spout tip when handle is off | Cartridge (1225/1255) | $25–$45 | Moderate (30–45 min) |
| Handle stiff, gritty, or won’t mix temp | Cartridge | $25–$45 | Moderate |
| Weak, sputtering flow | Clean/replace aerator | $3–$10 | Very easy |
Good news: while you have the spout off for an O-ring swap, the cartridge is right there. If your faucet is 8+ years old and you’re already in there, some people replace both at once — new O-rings and a fresh cartridge — so they don’t reopen it in a year. It’s optional, but it’s efficient.
FAQ
How long does an O-ring replacement on a Moen kitchen faucet take?
About 15–25 minutes for a first-timer, and under 10 if you’ve done it before. The most time-consuming parts are shutting off the water and getting the spout retaining collar loose; the actual O-ring swap takes two minutes.
Do I need to turn off the water to replace the spout O-rings?
Yes. Even though you’re not opening a pressurized line, removing the spout exposes the valve area, and any leftover pressure or a bumped handle can spray water everywhere. Turn off both supply valves under the sink and open the faucet to bleed off pressure first.
Can I use Vaseline or petroleum jelly on the new O-rings?
No. Petroleum-based products cause rubber O-rings to swell, soften, and fail early. Use silicone-based plumber’s grease, which is designed for potable-water fixtures and keeps the rings supple while helping the spout swivel.
How do I find out my exact Moen model number?
Check the original box or paperwork, look for a stamp or sticker on the underside of the faucet body or the supply lines, or take clear photos and match against Moen’s parts finder. If all else fails, remove the old O-rings and match their diameter and thickness with a caliper or against a ruler.
Is an O-ring replacement covered by Moen’s warranty?
Many Moen kitchen faucets carry a limited lifetime warranty on the faucet and finish, and Moen will often send replacement parts like O-rings and cartridges free to the original homeowner. It’s worth contacting Moen with your model number before buying parts — you may get them at no cost. Always confirm current warranty terms with Moen directly.
What if the spout won’t come off after I remove the handle?
Years of mineral buildup can glue the spout to the body. Don’t yank hard. Rock it gently side to side while pulling straight up, and if it’s stubborn, wrap a rag around it for grip. A little penetrating cleaner around the seam and a few minutes’ wait usually frees it. If it truly won’t budge, mineral scale on the stem may be the real cause — clean the stem thoroughly once it’s off.
About the author: This guide was written by the Aniflux Home fixtures team, drawing on hands-on repairs across Moen, Delta, and other major faucet brands. We spend our days helping customers pick, install, and repair kitchen and bathroom fixtures, and we test the common repair kits ourselves so our step-by-steps match what you’ll actually find under your handle.
About Aniflux Home: Aniflux Home (anifluxhome.com) is a specialist retailer of kitchen and bathroom faucets, shower heads, and fixtures. We publish plain-English repair and buying guides so homeowners can fix small problems themselves and buy with confidence. Our recommendations reference manufacturer specs, industry standards, and real warranty terms — never guesswork.